Picture this: it’s the middle of December, the lights are flickering, and you’re standing in your kitchen with a box of Little Debbie Christmas Tree Cakes and a trembling sense of culinary destiny. I was scrolling through Pinterest, scrolling past the usual holiday dips and desserts, when I stumbled upon a recipe that promised to turn those sugary tree cakes into a creamy, melt‑in‑your‑mouth dip. My curiosity was instantly hooked, and the moment the recipe called for a single box of those iconic cakes, I felt a surge of excitement that only a true food enthusiast can understand. I was ready to test it, but first I had to admit something that many of you might relate to: I had never thought of a cake as a dip.
As I opened the box, the scent of vanilla and fresh frosting flooded the air, instantly transporting me back to childhood holiday parties where the tree cakes were the star of the show. The texture was perfectly crumbly, yet the frosting clung like a velvety blanket. I imagined a silky, creamy sauce coating the cake pieces, a harmony of sweet and tang that would make every bite a holiday memory. I could almost hear the gentle clink of spoons as guests would dip their forks into the bowl, the sound of satisfied sighs echoing through the kitchen. That sensory vision was enough to convince me that this was not just another dip; it was an edible holiday miracle.
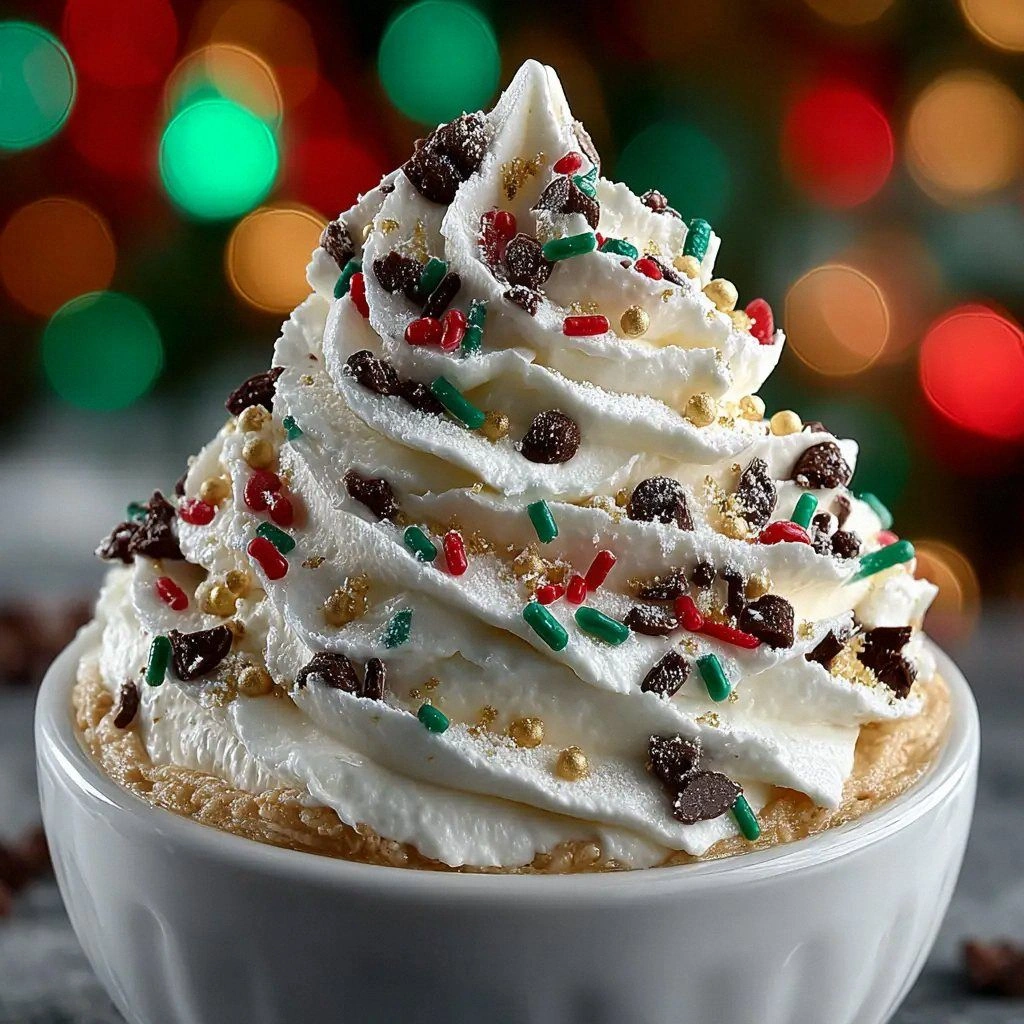
What makes this version stand out, however, is that it takes the simplest of ingredients and elevates them with a touch of culinary wizardry. Instead of a bland, generic cream base, we use a combination of cream cheese and frozen whipped topping that creates a luscious, airy texture. The addition of milk or heavy cream keeps the mixture from becoming too thick, while vanilla extract brings a fragrant depth that balances the sweetness. Finally, festive sprinkles add a playful crunch and a pop of color, turning the dip into a visual and tactile experience. The result? A dip that feels like a holiday party in a bowl, and trust me, I dare you to taste this and not go back for seconds.
By the time you finish reading this post, you’ll have all the secrets to creating the ultimate Christmas Tree Cake Dip. From the exact ingredients to the precise techniques that keep the dip silky and the cake pieces perfectly coated, I’ll walk you through every single step. And because I’m a food‑obsessed friend who loves to share, I’ll sprinkle in a few extra tricks and variations that will make this dip your new holiday staple. Let’s dive in and discover why this is hands down the best version you'll ever make at home.
What Makes This Version Stand Out
- Flavor: The combination of cream cheese and whipped topping creates a rich, buttery base that balances the sweetness of the cake.
- Texture: Light and airy, the dip coats each cake piece like velvet, ensuring every bite is smooth and indulgent.
- Ease: No baking or complex prep—just a few minutes of mixing, and you’re ready to serve.
- Visual Appeal: The bright green frosting of the tree cakes paired with colorful sprinkles turns a simple dip into a festive centerpiece.
- Make‑Ahead Friendly: You can prepare the dip a day ahead, letting the flavors meld while you focus on holiday décor.
- Party‑Ready: Perfect for game nights, holiday parties, or a cozy family gathering—everyone will love the unexpected twist.
- Ingredient Quality: Using fresh, high‑quality Little Debbie cakes and full‑fat cream cheese elevates the final taste.
- Customization: Swap in different frostings or add a splash of peppermint extract for a new flavor profile.
Alright, let's break down exactly what goes into this masterpiece...
Inside the Ingredient List
The Flavor Base
The Little Debbie Christmas Tree Cakes are the cornerstone of this dip. Their sweet, vanilla‑flavored frosting and the soft cake interior work together to create a harmonious base that doesn’t overpower the creaminess. If you were to skip the cakes, you’d lose the signature holiday flavor that makes this dip so irresistible. A good rule of thumb is to choose a fresh box; stale cakes will lose their chewiness and the dip will taste flat.
The Texture Crew
Cream cheese is the backbone of the dip’s body. It provides a tangy contrast to the sugary cakes and a smooth mouthfeel. When softened to room temperature, it blends effortlessly with the whipped topping. If you’re looking for a lighter version, you can substitute half‑fat cream cheese, but be prepared for a slightly less rich taste. The frozen whipped topping, on the other hand, brings a cloud‑like fluffiness that lifts the entire mixture. The key to success is to keep it cold; otherwise, the dip will become too runny.
The Unexpected Star
Milk or heavy cream is the secret ingredient that balances the mixture’s thickness. It loosens the cream cheese and whipped topping enough to create a pourable consistency without diluting the flavor. If you’re watching calories, use milk; if you want that extra decadence, go heavy cream. The small quantity—just two tablespoons—makes all the difference, ensuring the dip isn’t too watery.
The Final Flourish
Vanilla extract and festive sprinkles finish the dish with a burst of aroma and texture. A half teaspoon of vanilla adds depth and a subtle floral note that lifts the sweet profile. Sprinkles, meanwhile, provide a playful crunch and a festive pop of color, turning the dip into a visual treat. If you’re feeling adventurous, try adding a pinch of ground cinnamon for a warm, spiced twist.
Everything's prepped? Good. Let's get into the real action...
The Method — Step by Step
- Begin by placing the entire box of Little Debbie Christmas Tree Cakes into a large mixing bowl. Break the cakes into bite‑sized pieces using your hands or a fork; you want them small enough to dip but still substantial enough to hold their shape. I’ve found that leaving a few larger pieces adds a satisfying bite, so feel free to keep a few whole. This step is crucial because the size of the pieces determines how well they’ll soak up the creamy sauce. Once you’ve broken them up, set the bowl aside.
- Take the cream cheese out of the refrigerator and let it soften at room temperature for about 10 minutes. If you’re short on time, a quick microwave pulse—just 15 seconds—will do the trick. The cream cheese should be pliable but not melted; this ensures it blends smoothly with the other ingredients. While it’s softening, grab a stand mixer or a hand whisk; the smoother the base, the better the final texture.
- Add the softened cream cheese to the bowl with the cake pieces. Using the mixer on medium speed, blend until the cream cheese is fully incorporated and the mixture is uniformly creamy. At this point, you should hear a gentle whirring sound as the mixer works its magic. I like to pause here to smell the vanilla aroma rising from the mixture; it’s a sign that the flavors are starting to mingle. If you’re mixing by hand, use a large wooden spoon and keep stirring until the mixture looks silky.
- Now it’s time to bring in the frozen whipped topping. Keep it in the freezer until you’re ready to add it; this ensures the mixture stays airy. Gently fold the whipped topping into the cream cheese mixture using a spatula. The goal is to keep as much air as possible—this will make the dip light and fluffy. Watch the mixture transform from dense to a cloud‑like consistency. If it’s still too thick, add a splash of milk or heavy cream, a tablespoon at a time, until you reach a pourable but thick texture.
- Add the milk or heavy cream, vanilla extract, and sprinkles. Pour the liquid slowly, allowing the mixture to swirl before adding more. The vanilla will infuse the dip with a subtle floral note, while the sprinkles add a pop of color and crunch. Stir gently until the sprinkles are evenly distributed but not crushed. At this stage, the dip should have a glossy sheen and a pleasant aroma of vanilla and frosting.
- Taste the dip and adjust the seasoning if necessary. If it feels too sweet, a pinch of salt can balance the flavors. If you prefer a richer dip, add a tablespoon of heavy cream or a splash of coconut milk. Remember, the goal is a harmonious blend where the cake’s sweetness is complemented by the tang of cream cheese.
- Transfer the mixture into a serving bowl. If you’re planning to serve immediately, this is the time to add a few extra sprinkles on top for a decorative flourish. If you’re preparing ahead of time, cover the bowl with plastic wrap and refrigerate for at least an hour. The flavors will meld, and the dip will thicken slightly, making it even easier to dip the cake pieces.
- When you’re ready to serve, place the cake pieces on a platter or a napkin and set the dip in the center of the table. Encourage guests to scoop a piece of cake and dip it into the creamy sauce. The first bite will be a burst of sweet frosting, followed by the creamy, slightly tangy dip—a contrast that’s simply irresistible. Enjoy the delighted reactions and the warm holiday atmosphere it creates.
That's it — you did it. But hold on, I've got a few more tricks that'll take this to another level...
Insider Tricks for Flawless Results
The Temperature Rule Nobody Follows
Temperature is everything when it comes to a creamy dip. If the cream cheese is too cold, it won’t blend smoothly, leading to a lumpy texture. Conversely, if it’s too warm, the whipped topping will melt and lose its fluffiness. The sweet spot is at room temperature—soft but not melted. I keep a timer on my phone and set it for 10 minutes; this ensures consistency every time.
Why Your Nose Knows Best
When you’re mixing the ingredients, pay attention to the aroma. A faint scent of vanilla should rise from the mixture, indicating the vanilla extract has fully integrated. If the smell is flat or overly sweet, it’s a sign that the cake pieces aren’t fully coated. A quick stir can bring the flavors together.
The 5-Minute Rest That Changes Everything
After combining all ingredients, let the dip rest for five minutes before serving. This short pause allows the flavors to marry and the dip to thicken slightly, creating a silkier mouthfeel. I’ve found that this simple step transforms a good dip into a memorable one.
Don’t Skimp on the Sprinkles
Sprinkles are more than just decoration; they add texture and a pop of color that makes the dish festive. Use a generous amount—two tablespoons is a good start, but feel free to add more if you’re feeling extravagant. The crunch will contrast nicely with the creamy base.
Serve with a Twist
For an extra layer of flavor, drizzle a thin line of melted white chocolate over the dip before serving. The chocolate will add a subtle bitterness that balances the sweetness and gives the dish a sophisticated finish. This is especially effective if you’re hosting a more upscale holiday gathering.
Creative Twists and Variations
This recipe is a playground. Here are some of my favorite ways to switch things up:
Minty Fresh
Swap the vanilla extract for a teaspoon of peppermint extract and add a handful of crushed peppermint candies to the dip. The minty aroma will bring a refreshing twist that pairs wonderfully with the sweet cake.
Chocolate Covered
Mix a tablespoon of cocoa powder into the cream cheese mixture for a mocha flavor. Top the dip with chocolate sprinkles or drizzle melted dark chocolate for an indulgent treat.
Nutty Crunch
Fold in a quarter cup of chopped toasted almonds or pecans before serving. The nuts add a delightful crunch and a nutty undertone that balances the sweetness.
Spiced Holiday
Add a pinch of ground cinnamon and a dash of nutmeg to the dip. This will give the dish a warm, spicy profile reminiscent of traditional holiday cookies.
Low‑Calorie Option
Replace the cream cheese with a low‑fat Greek yogurt and use a sugar‑free whipped topping. The result is a tangy, creamy dip that’s lighter but still festive.
Vegan Version
Use a plant‑based cream cheese substitute and a dairy‑free whipped topping. The flavors stay true to the original while accommodating dietary preferences.
Storing and Bringing It Back to Life
Fridge Storage
Store the dip in an airtight container in the refrigerator for up to 48 hours. Before serving, let it sit at room temperature for 10 minutes to soften slightly. This makes it easier to scoop and enhances the flavor.
Freezer Friendly
For longer storage, freeze the dip in a shallow container for up to one week. Thaw overnight in the refrigerator and give it a gentle stir before serving. A splash of water or milk can help re‑emulsify the mixture if it has separated.
Best Reheating Method
To reheat, place the dip in a microwave-safe bowl and heat on low for 30 seconds. Stir, then repeat until the dip is warmed through. Add a tiny splash of milk before reheating to keep it creamy and prevent it from drying out.