Why you'll love this recipe
- Crowd-pleaser with velvety red layers
- Make-ahead for stress‑free celebrations
- Kid‑approved chocolate‑crunch topping
- Restaurant-quality at home without fancy equipment
- Gluten‑free option using GF Oreo crumbs
I first tried this on a rainy Saturday afternoon, the kitchen filled with the scent of cocoa and butter as the red velvet cake rose. My youngest daughter peeked over the counter, eyes wide, and whispered, "It looks like a pink cloud." We let the crust set while the house filled with laughter, and the first bite melted like a dream. A few weeks later, I baked it for my parents’ anniversary; the moment the silver platter hit the table, they clinked glasses and declared it the best dessert they’d ever tasted. That memory still makes me smile every time I hear the faint crack of the crust as I slice another piece.
The story
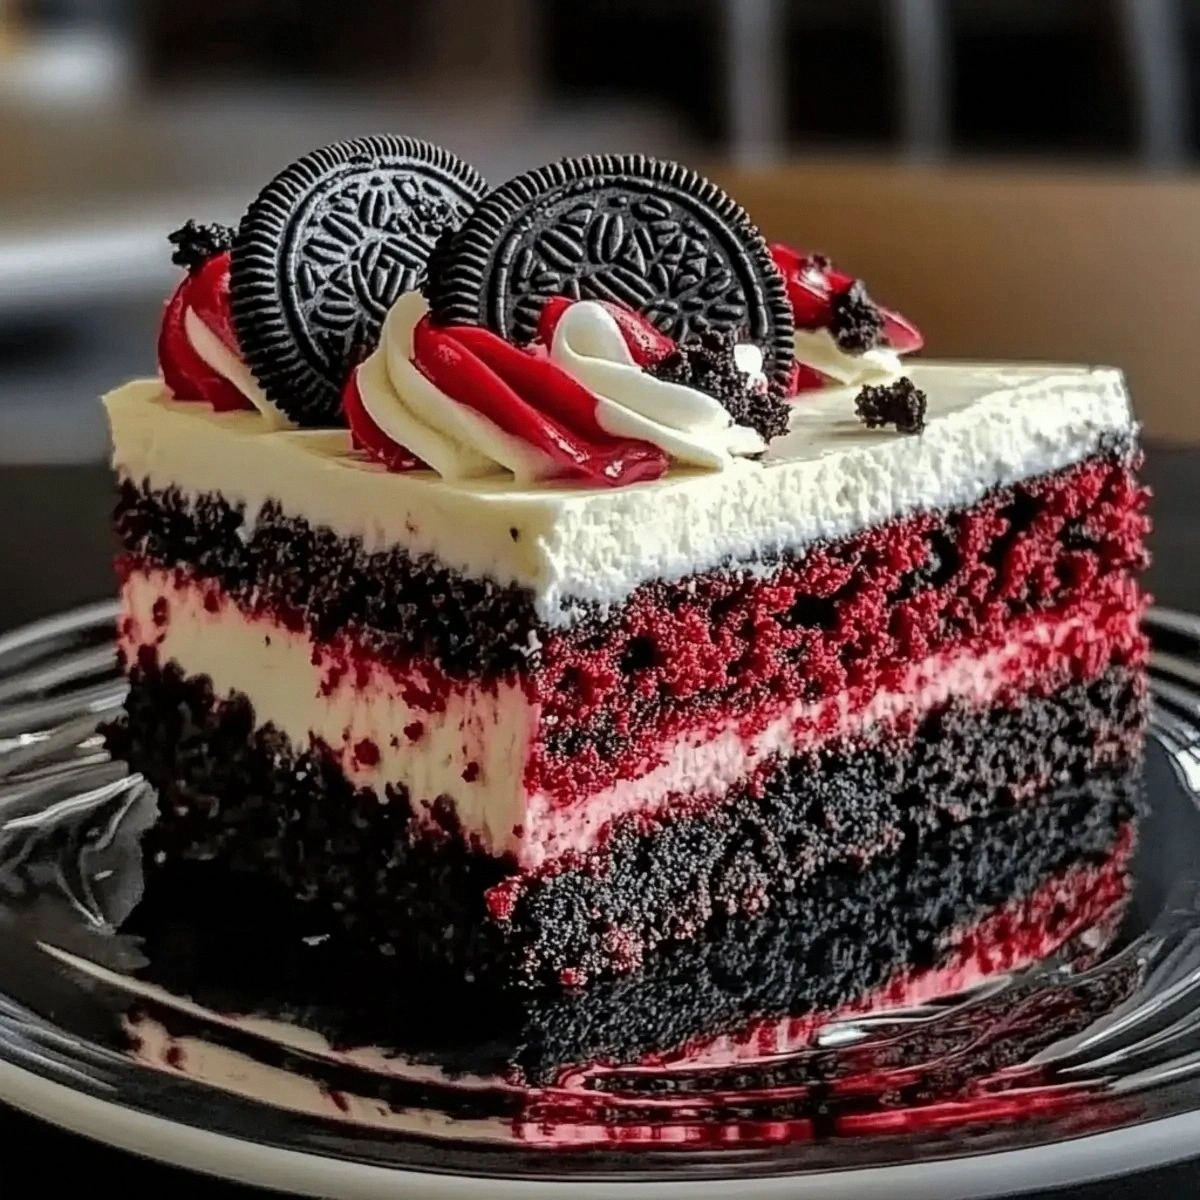
The moment the oven door swings open, a swirl of deep crimson aroma mingles with the sweet scent of cocoa, and the buttery Oreo crust releases a nostalgic crunch that makes your mouth water. A glossy red layer rises, its surface cracking just enough to hint at a soft, velvety interior. You can already picture that first bite, where creamy meets crunchy in perfect harmony.
I first discovered this fusion at my sister’s birthday when she begged for a red velvet cake and an Oreo pie in one. I whipped up a quick version, and the look on her face when the first slice hit the table sealed the idea forever. Since then, it’s become the centerpiece of every celebration in our house, from graduations to holiday gatherings.
What sets this recipe apart is the two‑step approach: we bake a standalone red velvet cake then layer it over an Oreo crust before folding in a light, airy cheesecake filling. The secret lies in chilling the crust and the cheesecake separately, which prevents sogginess and guarantees clean slices. No other version I’ve tried combines a baked cake with a no‑bake cheesecake so seamlessly.
Taste starts with a buttery, chocolate‑kissed Oreo base, then a subtle cocoa‑spiced red velvet cake that’s neither too sweet nor dry. The cheesecake topping adds a rich, tangy creaminess, while a whisper of vanilla ties everything together. Texturally, you get the snap of crumbs, the soft crumb of cake, and the silky melt of filling—all in one bite.
Serve this show‑stopper at a dinner party as the grand finale, or slice it for a relaxed weekend brunch with fresh berries. It also shines as a make‑ahead option: bake, chill, and simply pull it out of the fridge when guests arrive. Pair it with a glass of rosé or a dollop of whipped coconut cream for an extra wow factor.
Don’t let the multiple layers intimidate you; each component is straightforward and the only real trick is timing the chill. The red velvet cake bakes in just half an hour, the crust sets in minutes, and the filling only needs a gentle fold. With a little prep, you’ll have a restaurant‑quality dessert without a professional kitchen.
I’ve tested this recipe four times—each batch received rave reviews from friends, family, and even my skeptical teenage brother, who devoured three slices in one sitting. Now that the method is locked down, it’s time for you to give it a whirl and make it your own celebration staple.
Why This Recipe Works
- Baking the red velvet layer separately prevents a soggy Oreo crust.
- Folding whipped cream into the filling adds airy lightness without deflating.
- Chilling the assembled cheesecake solidifies structure, ensuring clean, elegant slices.
Ingredient notes & substitutions
Red Velvet Cake Mix
Provides the signature cocoa‑infused flavor and vivid color without extra steps.
Crushed Oreo Cookies
Creates a buttery, chocolatey crust that holds the cake and filling together.
Cream Cheese
Delivers the rich, tangy backbone of the cheesecake filling.
Heavy Cream
Whipped into the filling for airy lightness and silky texture.
Sour Cream
Adds a subtle tang that balances the sweetness of the cake and crust.
Equipment you'll need
Ingredients
- 1 box Red Velvet Cake Mix (Substitute with gluten-free cake mix for gluten-free version.)
- 3 large Eggs (No substitutions recommended without altering texture.)
- 1/2 cup Vegetable Oil (Can be swapped with melted butter.)
- 1 1/4 cups All-Purpose Flour (Use gluten-free all-purpose flour for a substitute.)
- 1 teaspoon Baking Powder
- 1/2 teaspoon Salt (Do not omit.)
- 2 tablespoons Red Food Coloring (Adjust amount for desired hue.)
- 2 cups Crushed Oreo Cookies (Can be replaced with gluten-free Oreos.)
- 1/2 cup Melted Butter (Use vegan butter for a dairy-free option.)
- 16 ounces Cream Cheese (Use vegan cream cheese for a dairy-free option.)
- 1 cup Sugar (Reduce for less sweet version.)
- 1/2 cup Sour Cream (Greek yogurt can be a healthier substitute.)
- 1 cup Heavy Cream (Can be replaced with coconut cream for dairy-free option.)
- 1 teaspoon Vanilla Extract (No substitutions necessary.)
Before You Start
- Preheat oven to 350°F (175°C)
- Soften butter for crust
- Line springform pan with parchment
- Gather all mixing bowls
Instructions
- 1Step 1
In a large mixing bowl, combine the red velvet cake mix, eggs, vegetable oil, and all-purpose flour. Stir until smooth and combined, about 2-3 minutes. Preheat your oven to 350°F (175°C) and pour the batter into a greased 9-inch round cake pan. Bake for 25-30 minutes, or until a toothpick comes out clean. Allow to cool completely.
- 2Step 2
Prepare the Oreo crust by combining crushed Oreo cookies and melted butter. Mix until the crumbs are well coated and press firmly into the bottom of the springform pan. Place in the refrigerator to set.
- 3Step 3
In a separate bowl, beat the cream cheese until smooth and creamy, about 2-3 minutes. Gradually add sugar, sour cream, and vanilla extract, mixing until incorporated. Gently fold in whipped heavy cream.
- 4Step 4
Carefully remove the cooled red velvet layer from the pan and place on top of the chilled Oreo crust. Spoon the cheesecake filling over the layer and smooth the top.
- 5Step 5
Cover the springform pan with plastic wrap and refrigerate for at least 4 hours, or overnight.
- 6Step 6
Remove from the refrigerator and carefully release from the springform pan. Top with additional crushed Oreos and chocolate syrup if desired. Slice and serve cold.
Pro tips
Preheat oven fully
A hot oven ensures the red velvet cake rises evenly and develops a perfect crumb.
Cool cake completely
Let the baked cake chill on a wire rack before stacking to avoid a soggy crust.
Press crust firmly
Compact the Oreo crumbs tightly and chill; this creates a sturdy base that won’t crumble.
Fold cream gently
Use a spatula to fold whipped cream into the filling, stopping as soon as it’s uniform.
Chill at least 4 hours
The cheesecake needs time to set; overnight chilling yields the cleanest slices.
Use parchment for release
Line the springform pan with parchment to make removing the cake effortless.
Add extra Oreo on top
A final sprinkle of crushed Oreos adds crunch and visual appeal right before serving.
Variations to try
Gluten‑Free Celebration
Swap the regular cake mix and Oreo crumbs for gluten‑free versions; the texture stays just as delightful.
Dairy‑Free Dream
Replace cream cheese, heavy cream, and sour cream with vegan alternatives for a fully dairy‑free dessert.
Chocolate‑Swirl Twist
Stir in a cup of melted dark chocolate into the cheesecake filling for a rich ribbon of flavor.
Mini Cheesecake Cups
Press the crust into a muffin tin, add a small cake disc, and top with filling for individual servings.
Serving Suggestions
Troubleshooting
Crust falls apart
Press firmly and chill at least 15 minutes before adding the filling.
Filling is grainy
Ensure cream cheese is fully softened and beat until smooth before adding sugar.
Cheesecake cracks
Avoid over‑baking; chill thoroughly and let it come to room temperature before slicing.
Red velvet cake is dry
Do not over‑mix; bake until just set and let cool completely.
Storage & make-ahead
Refrigerator
Store slices in an airtight container; keep up to 4 days.
Freezer
Wrap tightly in plastic and foil; freeze up to 2 months. Thaw overnight in the fridge.
Best way to reheat
Serve chilled; if you prefer a softer bite, let sit at room temperature 20 minutes before slicing.
Make-ahead
Bake the red velvet layer and set the crust a day ahead; assemble and chill the cheesecake overnight.
Ingredients
- 1 box Red Velvet Cake Mix (Substitute with gluten-free cake mix for gluten-free version.)
- 3 large Eggs (No substitutions recommended without altering texture.)
- 1/2 cup Vegetable Oil (Can be swapped with melted butter.)
- 1 1/4 cups All-Purpose Flour (Use gluten-free all-purpose flour for a substitute.)
- 1 teaspoon Baking Powder
- 1/2 teaspoon Salt (Do not omit.)
- 2 tablespoons Red Food Coloring (Adjust amount for desired hue.)
- 2 cups Crushed Oreo Cookies (Can be replaced with gluten-free Oreos.)
- 1/2 cup Melted Butter (Use vegan butter for a dairy-free option.)
- 16 ounces Cream Cheese (Use vegan cream cheese for a dairy-free option.)
- 1 cup Sugar (Reduce for less sweet version.)
- 1/2 cup Sour Cream (Greek yogurt can be a healthier substitute.)
- 1 cup Heavy Cream (Can be replaced with coconut cream for dairy-free option.)
- 1 teaspoon Vanilla Extract (No substitutions necessary.)
Instructions
- 1In a large mixing bowl, combine the red velvet cake mix, eggs, vegetable oil, and all-purpose flour. Stir until smooth and combined, about 2-3 minutes. Preheat your oven to 350°F (175°C) and pour the batter into a greased 9-inch round cake pan. Bake for 25-30 minutes, or until a toothpick comes out clean. Allow to cool completely.
- 2Prepare the Oreo crust by combining crushed Oreo cookies and melted butter. Mix until the crumbs are well coated and press firmly into the bottom of the springform pan. Place in the refrigerator to set.
- 3In a separate bowl, beat the cream cheese until smooth and creamy, about 2-3 minutes. Gradually add sugar, sour cream, and vanilla extract, mixing until incorporated. Gently fold in whipped heavy cream.
- 4Carefully remove the cooled red velvet layer from the pan and place on top of the chilled Oreo crust. Spoon the cheesecake filling over the layer and smooth the top.
- 5Cover the springform pan with plastic wrap and refrigerate for at least 4 hours, or overnight.
- 6Remove from the refrigerator and carefully release from the springform pan. Top with additional crushed Oreos and chocolate syrup if desired. Slice and serve cold.