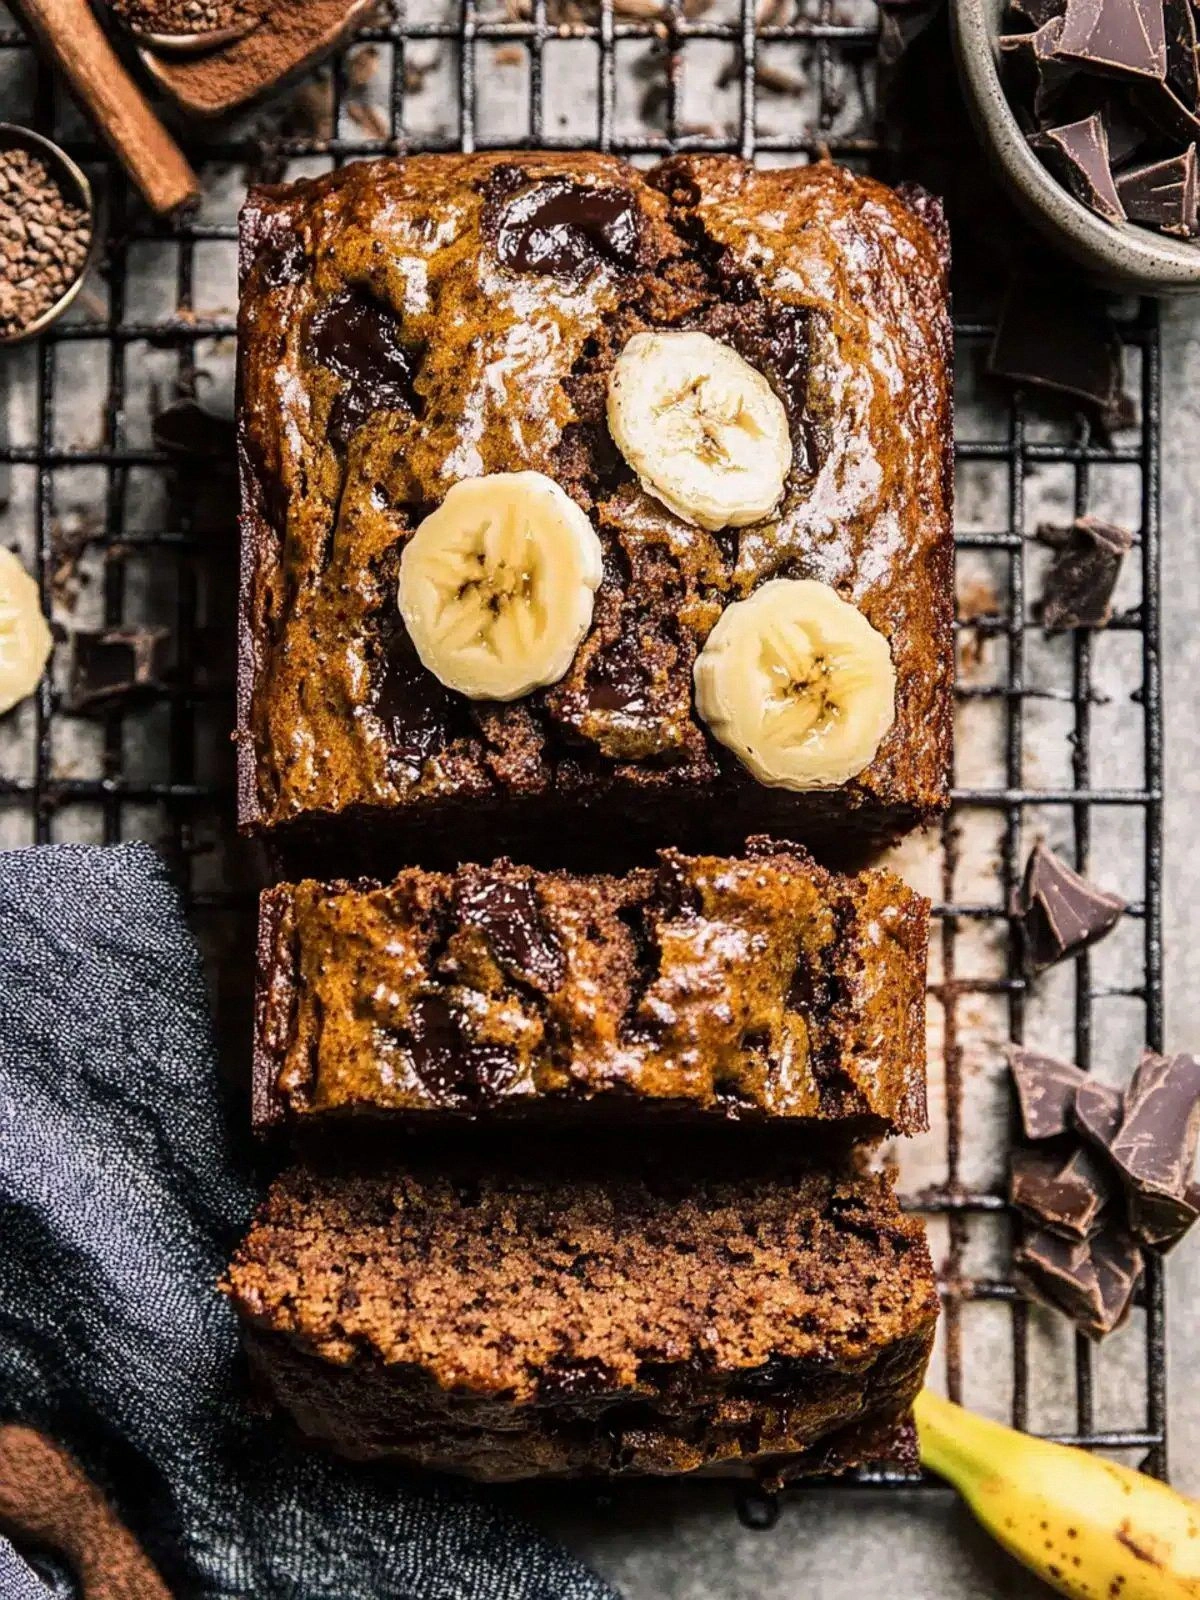
I was standing in my kitchen at 2 a.m., half‑asleep, clutching a half‑eaten bag of malted milk balls, when my roommate shouted, “You’ve got to try making cookies that actually taste like the cereal you love!” I laughed, tossed the bag into the trash, and decided to turn that midnight dare into a full‑blown experiment. The first batch I pulled from the oven was a disaster: flat, bland, and missing the deep, glossy richness that makes a double‑chocolate chip cookie worth writing home about. That failure sparked a relentless quest for the perfect balance of malt, cocoa, and chocolate chips, and after countless trial‑and‑error sessions, I finally nailed a version that makes my kitchen smell like a chocolate factory on a rainy day.
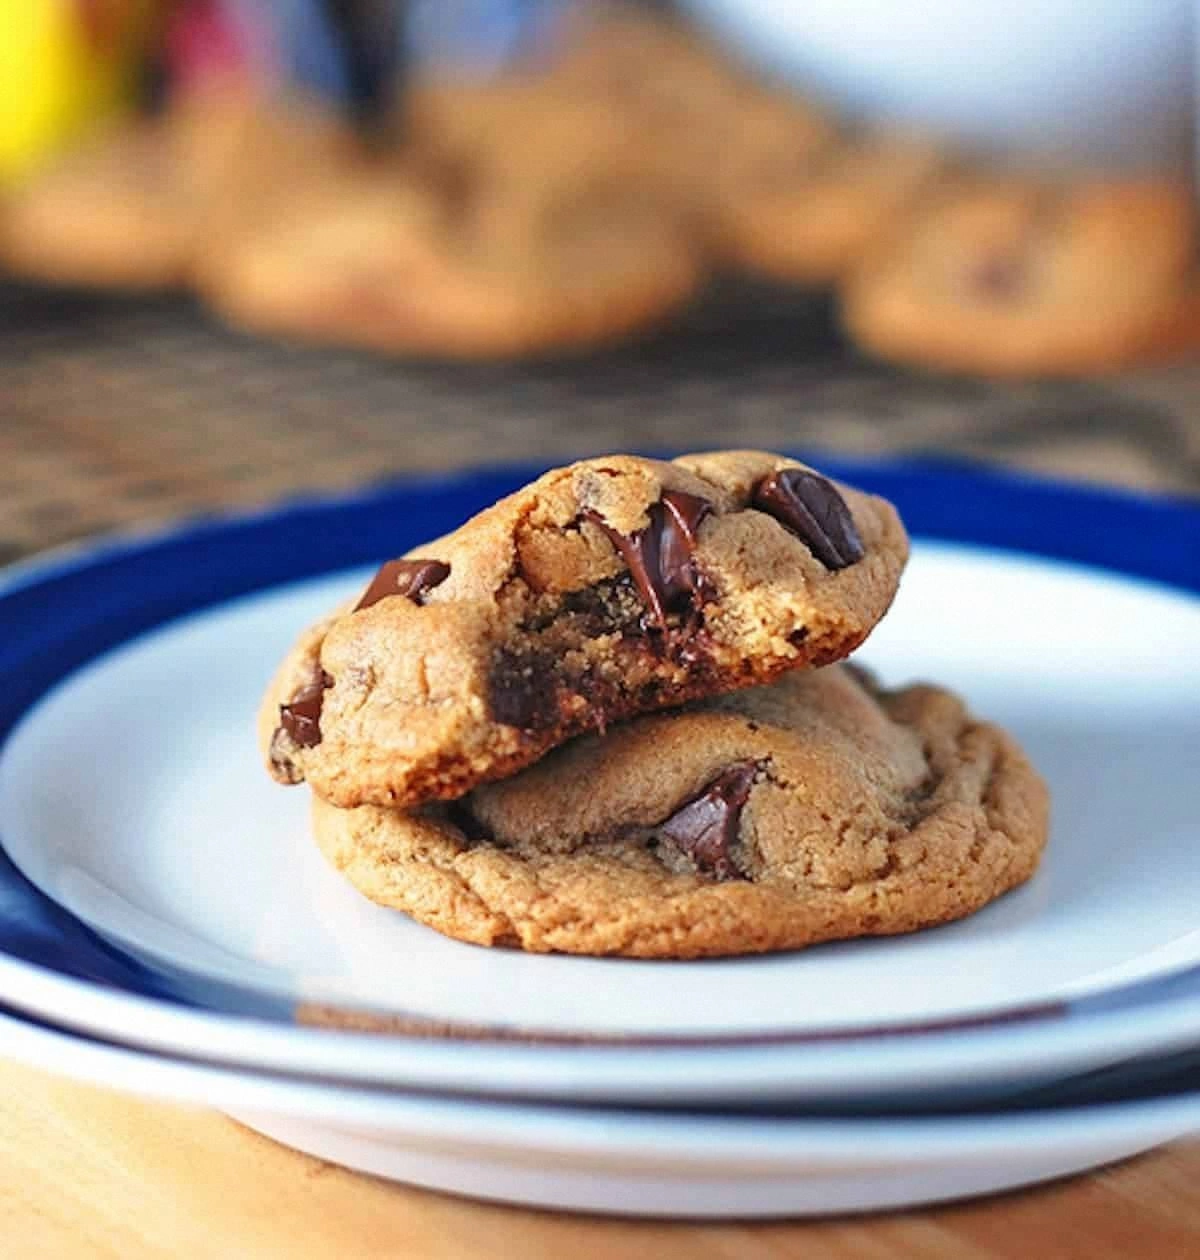
Picture this: the moment you open the oven, a wave of warm, buttery aroma rolls out, carrying hints of toasted malt and dark chocolate that instantly hug your nostrils. The cookies themselves are a study in contrast—crisp, caramelized edges that shatter like thin ice, while the centers stay soft, chewy, and almost melt‑in‑your‑mouth. When you bite into one, the malted milk powder adds a subtle, toasty sweetness that dances with the bittersweet cocoa, and the chocolate chips melt into glossy pockets of indulgence. It’s the kind of cookie that makes you pause, stare at the plate, and whisper, “I dare you to taste this and not go back for seconds.”
What sets this recipe apart from every other double‑chocolate chip cookie you’ve ever tried is the secret weapon: malted milk powder. Most recipes either skip it entirely or use it in such a tiny amount that you never notice its impact. Here, it’s front and center, providing a buttery, caramel‑like undertone that elevates the chocolate without overpowering it. I also fold in a touch of melted butter, which gives the dough a glossy sheen and creates those coveted crackly edges. And because I’m a firm believer that technique can be as important as ingredients, I’ve added a chilling step that guarantees uniform thickness and prevents spreading.
But the real kicker? I’m going to reveal a technique that most cookie bakers overlook: a brief “autolyse” of the dry ingredients with the melted butter before adding the sugars and eggs. This short rest lets the flour hydrate, resulting in a dough that’s easier to handle and yields a cookie that’s tender on the inside yet sturdy enough to hold a mountain of chips. Okay, ready for the game‑changer? Let me walk you through every single step — by the end, you’ll wonder how you ever made it any other way.
What Makes This Version Stand Out
- Flavor: The malted milk powder adds a caramel‑toasted note that pairs perfectly with the deep cocoa, creating a layered taste experience.
- Texture: A crisp, caramelized edge contrasts with a soft, chewy center, delivering a satisfying bite every time.
- Simplicity: Only twelve ingredients, all pantry staples, yet the result feels like a bakery‑level treat.
- Uniqueness: Most chocolate chip cookies never venture beyond sugar and butter; this recipe embraces malt as the star.
- Crowd Reaction: Expect immediate “wow” moments—kids, adults, even the most skeptical palate will beg for more.
- Ingredient Quality: Using high‑quality cocoa and real malted milk powder makes a noticeable difference in depth.
- Cooking Method: The brief autolyse and chilling steps are the secret sauce for consistent results.
- Make‑Ahead Potential: These cookies freeze beautifully and taste just as fresh after a quick re‑heat.
Alright, let's break down exactly what goes into this masterpiece...
Inside the Ingredient List
The Flavor Base
The backbone of any great cookie is a solid flavor foundation, and here it starts with unsweetened cocoa powder and malted milk powder. Cocoa brings that deep, earthy bitterness you expect from a double‑chocolate treat, while the malted milk powder introduces a buttery, almost toffee‑like sweetness that rounds out the sharp edges of the cocoa. If you skip the malt, you’ll end up with a classic chocolate chip cookie—good, but nowhere near the complex flavor profile we’re aiming for. For the best results, choose a Dutch‑process cocoa for a smoother, less acidic taste, and look for malted milk powder that’s free of added sugars.
The Texture Crew
Flour, baking soda, and a touch of salt are the trio that determines how your cookie spreads and rises. All‑purpose flour provides structure, while baking soda creates lift and those coveted airy pockets inside the cookie. The salt isn’t just a seasoning; it amplifies every other flavor, ensuring the malt and chocolate don’t get lost in the sweetness. If you replace the flour with a gluten‑free blend, be prepared for a slightly denser crumb, but you’ll still enjoy the malt’s magic.
The Sweeteners
A mix of brown sugar and granulated sugar is essential for achieving that chewy‑crisp balance. Brown sugar, with its molasses content, adds moisture and a hint of caramel, while white sugar contributes to spread and a crisp edge. The ratio used here—1 cup brown to ½ cup white—creates a cookie that’s soft in the middle yet has those delightful, slightly crunchy borders. If you prefer a less sweet version, you can shave off a quarter cup of white sugar without compromising texture.
The Final Flourish
Butter, eggs, vanilla, and the chocolate chips are the finishing touches that bring everything together. Melted butter gives the dough a glossy sheen and helps develop those caramelized edges. Eggs act as emulsifiers, binding the dry and wet components while adding richness. Vanilla extract adds a fragrant undertone that lifts the malt and cocoa, and the chocolate chips—both semi‑sweet and dark—provide pockets of molten bliss. If you’re feeling adventurous, toss in a handful of crushed malted milk balls for extra crunch.
Everything's prepped? Good. Let's get into the real action...
The Method — Step by Step
In a medium bowl, whisk together the flour, cocoa powder, malted milk powder, baking soda, and salt. This dry blend is the canvas for our flavor masterpiece; make sure there are no lumps, because any clumps will turn into bitter pockets in the final cookie. As you stir, you’ll notice a faint chocolatey aroma—this is the first hint that something delicious is on its way. Once combined, set the bowl aside and let the dry ingredients rest for two minutes. Why this matters: the brief rest allows the flour to fully hydrate, which leads to a more tender crumb.
Meanwhile, melt the butter in a small saucepan over low heat until it’s just liquid—no bubbling. Remove from heat, add a pinch of sea salt, and let it cool for a minute. This step is pure magic because the melted butter coats the flour particles, creating that glossy dough we love. Once slightly cooled, pour the butter into a large mixing bowl, then add the brown sugar and white sugar. Beat with a handheld mixer on medium speed until the mixture is light, fluffy, and the color has shifted to a deeper caramel hue. This is the moment when the kitchen fills with a sweet, buttery perfume that says “good things are coming.”
Add the eggs one at a time, beating well after each addition, followed by the vanilla extract. The eggs should be at room temperature; this ensures they incorporate smoothly without curdling the butter. As you mix, you’ll see the batter turn silky and glossy—this is the texture that will later translate into a chewy center. Scrape down the sides of the bowl to make sure every bit of sugar and butter is fully integrated.
Now comes the autolyse: gently fold the dry ingredient mixture into the wet mixture using a spatula. Instead of vigorously beating, use a slow, deliberate folding motion. This allows the flour to absorb the butter and sugars gradually, creating a dough that’s cohesive yet not over‑mixed. You’ll notice the dough becoming smoother and slightly sticky—exactly what we want. Let the combined dough sit for 5 minutes; this short rest lets the gluten relax, preventing tough cookies.
Stir in the chocolate chips (both semi‑sweet and dark) and, if you’re feeling extra indulgent, the crushed malted milk balls. Distribute them evenly so every bite delivers a burst of chocolate and a surprise crunch. The dough will look speckled with dark islands—don’t be afraid, that’s a good sign.
Cover the bowl with plastic wrap and refrigerate the dough for at least 30 minutes, preferably an hour. This chilling step is the unsung hero of the recipe; it firms up the butter, which means the cookies will hold their shape when they hit the hot oven. While you wait, preheat your oven to 350°F (175°C) and line two baking sheets with parchment paper. The anticipation builds, and the kitchen starts to smell faintly of chocolate and butter—a preview of what’s to come.
Scoop the chilled dough onto the prepared sheets, spacing each mound about 2 inches apart. Press each ball lightly with the back of a spoon or your hand to flatten just a touch—this helps the edges crisp up while the center stays soft. As the cookies bake, you’ll hear a faint sizzle as the butter hits the hot tray; that sound means you’re on the right track.
Bake for 10‑12 minutes, rotating the sheet halfway through. The edges should turn a deep golden‑brown, and the tops will look set but still slightly soft. Pull the tray out when the centers are still a tad undercooked; they’ll continue to set as they cool on the wire rack. Let the cookies rest for 5 minutes before transferring them—this pause lets the flavors meld and the texture firm up just enough for a perfect bite. That sizzle when it hits the pan? Absolute perfection.
That's it — you did it. But hold on, I've got a few more tricks that'll take this to another level...
Insider Tricks for Flawless Results
The Temperature Rule Nobody Follows
Never bake cookies straight from a warm kitchen. If your dough is too warm, the butter will melt too quickly, causing excessive spreading and thin, crispy edges. Instead, keep the dough chilled until the very last minute, and if you live in a hot climate, add an extra 10‑15 minutes to the chilling time. I once baked a batch on a sweltering July afternoon and ended up with pancake‑like cookies—lesson learned. A cold dough guarantees that the butter melts gradually, giving you that perfect balance of chew and crunch.
Why Your Nose Knows Best
Your sense of smell is a far better indicator of doneness than a timer. When the edges start to emit a nutty, caramel aroma, you’re right on the cusp of perfection. If you rely solely on the clock, you risk overbaking and losing that soft interior. Trust that golden‑brown scent; it’s the olfactory equivalent of a green light.
The 5‑Minute Rest That Changes Everything
After baking, let the cookies sit on the tray for exactly five minutes before moving them to a wire rack. This short rest allows residual heat to finish the cooking process while the cookies set, preventing them from breaking apart. I’ve seen people rush them onto a cooling rack and end up with crumbly messes—don’t be that person. Those five minutes are a small price to pay for a cookie that holds together beautifully.
Crush, Don’t Blend
If you choose to add crushed malted milk balls, do it with a rolling pin or a sturdy bag, not a food processor. Over‑processing turns them into powder, which can make the dough too dry. A rough crush keeps the texture varied, adding delightful little crunch bursts that contrast with the soft cookie.
The Secret of the Double‑Chocolate Ratio
Balancing cocoa powder with two types of chocolate chips creates depth. The cocoa provides a consistent chocolate backbone, while the semi‑sweet and dark chips each bring their own flavor nuances—sweetness and bitterness, respectively. If you use only one type of chip, the flavor can feel one‑dimensional. Mix them, and you’ll get a symphony of chocolate notes that linger on the palate.
Creative Twists and Variations
This recipe is a playground. Here are some of my favorite ways to switch things up:
Salty Caramel Swirl
Swirl in a tablespoon of caramel sauce and sprinkle flaky sea salt on top before baking. The salty‑sweet contrast elevates the malted flavor, making each bite feel like a gourmet treat. Perfect for a holiday cookie platter.
Espresso Infusion
Dissolve a teaspoon of instant espresso powder in the melted butter before mixing. The coffee notes amplify the chocolate, giving the cookies a mocha‑like depth that’s ideal for brunch gatherings.
Nutty Crunch
Fold in ½ cup of toasted chopped hazelnuts or almonds. The nuts add a buttery crunch that pairs beautifully with the malted sweetness and chocolate chips, creating a texture party in your mouth.
White Chocolate & Raspberry
Replace half of the dark chocolate chips with white chocolate chips and add dried raspberry pieces. The tart berries cut through the richness, while the white chocolate adds a creamy counterpoint to the malt.
Gluten‑Free Version
Swap the all‑purpose flour for a 1:1 gluten‑free blend and add a tablespoon of xanthan gum. The result is just as tender, though you may need a slightly longer chilling time to firm up the dough.
Storing and Bringing It Back to Life
Fridge Storage
Place cookies in an airtight container with a slice of bread; the bread will keep them moist for up to a week. The container should be kept in the refrigerator if you live in a humid climate to prevent sogginess.
Freezer Friendly
Layer cookies between parchment sheets in a zip‑top bag and freeze for up to three months. When you’re ready to enjoy them, let them thaw at room temperature for 15 minutes, then pop them into a 300°F oven for 5 minutes to revive that fresh‑out‑of‑the‑oven crunch.
Best Reheating Method
Add a tiny splash of water (about a teaspoon) to a microwave‑safe plate, cover the cookies with a damp paper towel, and microwave for 10‑15 seconds. The steam gently re‑hydrates the interior while the outer crust crisps back up. This trick works wonders when you’re craving a warm cookie after a long day.