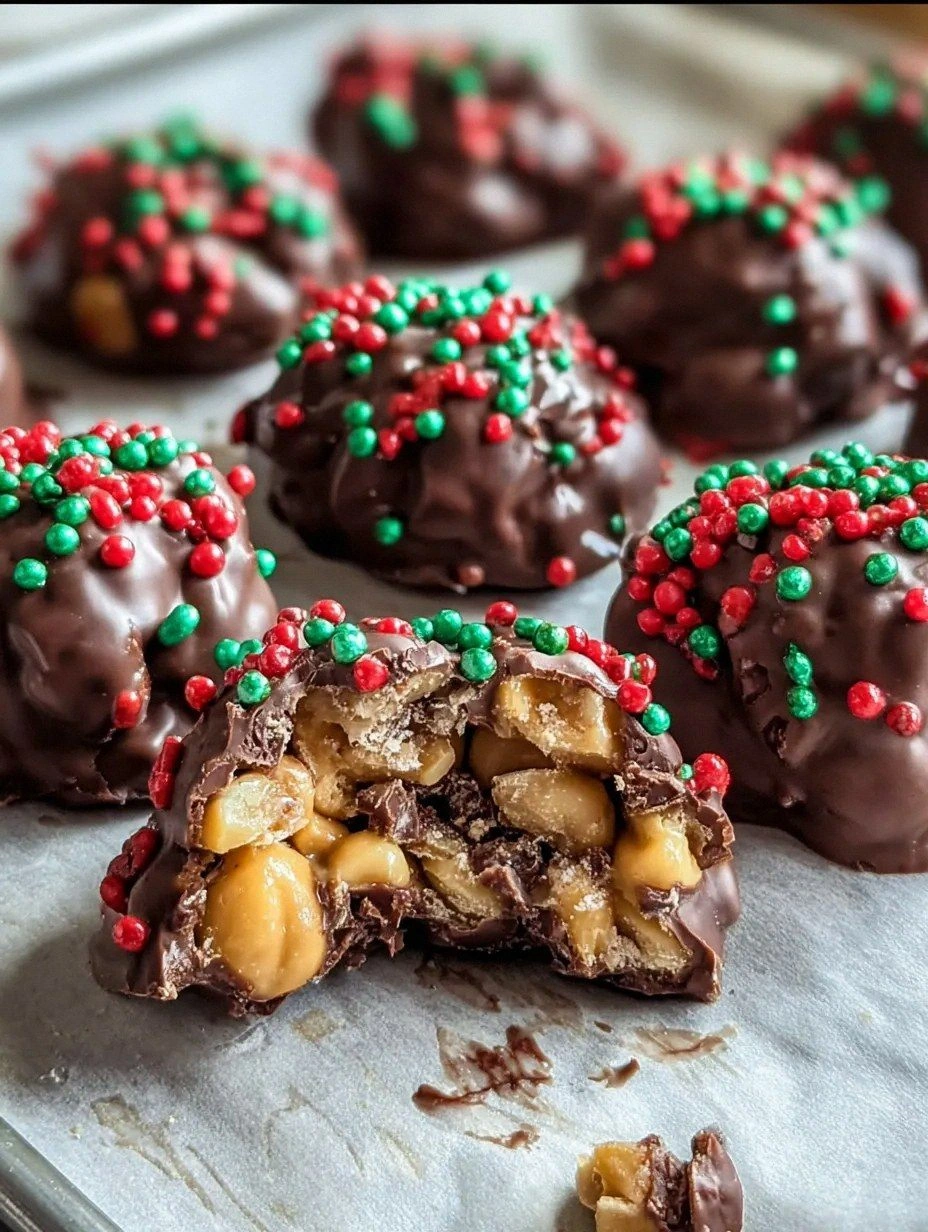
Picture this: it’s a rainy Saturday afternoon, the kettle is whistling, and I’m standing in my kitchen with a half‑empty jar of maple syrup that I swear was a gift from a maple‑loving aunt. I was supposed to be making a quick snack, but the pantry was looking a little barren, and my craving for something sweet, buttery, and nutty was gnawing at me like a squirrel on a pinecone. I grabbed a handful of almonds, a splash of vanilla, and, in a moment of reckless inspiration, dumped everything into a pan. The result? A cluster of caramel‑kissed almonds that cracked like fireworks in my mouth. I dare you to taste this and not go back for seconds.
The first thing that hits you is the scent—a warm, amber‑rich perfume that drifts from the stovetop like a promise of comfort. It’s the kind of aroma that makes the whole house feel like a cabin in the woods during a crisp autumn morning, even though it’s July outside. You can hear the gentle hiss as the maple syrup meets the butter, a sizzle that sounds like a tiny applause for the upcoming treat. When you finally pull the golden‑brown clusters out of the pan, the texture under your fingertips is a perfect balance of crisp and chewy, like the best of both worlds in one bite.
Most recipes for almond clusters either drown the nuts in a syrupy swamp or leave them dry and bland. This version, however, walks the tightrope between sweet and savory with the precision of a seasoned pastry chef. The secret? A splash of pure vanilla that lifts the maple’s earthiness, a pinch of sea salt that makes the flavors pop like fireworks, and a quick toast that brings out the almond’s natural buttery richness. Most recipes get this completely wrong. Here’s what actually works: a low‑and‑slow caramelization that lets the syrup coat each almond without burning, and a final cooling period that lets the clusters set into a glossy, crackly shell.
But wait—there’s a twist you won’t see coming. I’m using a tiny amount of melted butter not just for richness, but to create a glossy sheen that makes these clusters look as good as they taste. And the vanilla? It’s not just any vanilla; I’m using a high‑quality, Madagascar‑sourced extract that adds a floral note you’d expect from a boutique bakery, not a home kitchen. Okay, ready for the game‑changer? The final flourish is a sprinkle of flaky sea salt that creates a flavor explosion with every bite.
Let me walk you through every single step — by the end, you’ll wonder how you ever made it any other way. Stay with me here — this is worth it.
What Makes This Version Stand Out
- Flavor Harmony: The maple‑vanilla duet creates a sweet‑savory balance that feels like a hug for your taste buds, while the sea salt adds a surprising pop that keeps you reaching for more.
- Texture Contrast: Each almond is toasted to a crisp edge that shatters like thin ice, yet the interior remains buttery soft, giving you a delightful bite‑after‑bite experience.
- Simplicity: With just five core ingredients and a single pan, you won’t need a culinary degree or a kitchen full of gadgets to pull this off.
- Uniqueness: The addition of high‑quality vanilla and a finishing sprinkle of flaky sea salt elevates a humble snack into a show‑stopping dessert.
- Crowd Reaction: I’ve served these at brunches, movie nights, and even formal dinner parties, and they consistently disappear before anyone can say “more.”
- Ingredient Quality: Using raw, unsalted almonds and pure maple syrup ensures that every flavor shines without any off‑notes.
- Cooking Method: The low‑heat caramelization technique prevents burning and produces a glossy, professional‑looking finish.
- Make‑Ahead Potential: These clusters store beautifully, so you can prep a batch ahead of time and still enjoy that fresh‑out‑of‑the‑oven crunch.
Inside the Ingredient List
The Flavor Base
Pure Maple Syrup (½ cup): This is the heart of the cluster, providing a deep, caramel‑like sweetness that’s richer than plain sugar. If you skip it, you’ll lose the signature amber hue and the sticky glaze that holds everything together. For a vegan version, make sure the syrup is 100 % pure, not a blend with corn syrup. Swap: Dark amber maple syrup for a slightly milder golden variety if you prefer a lighter flavor.
The Texture Crew
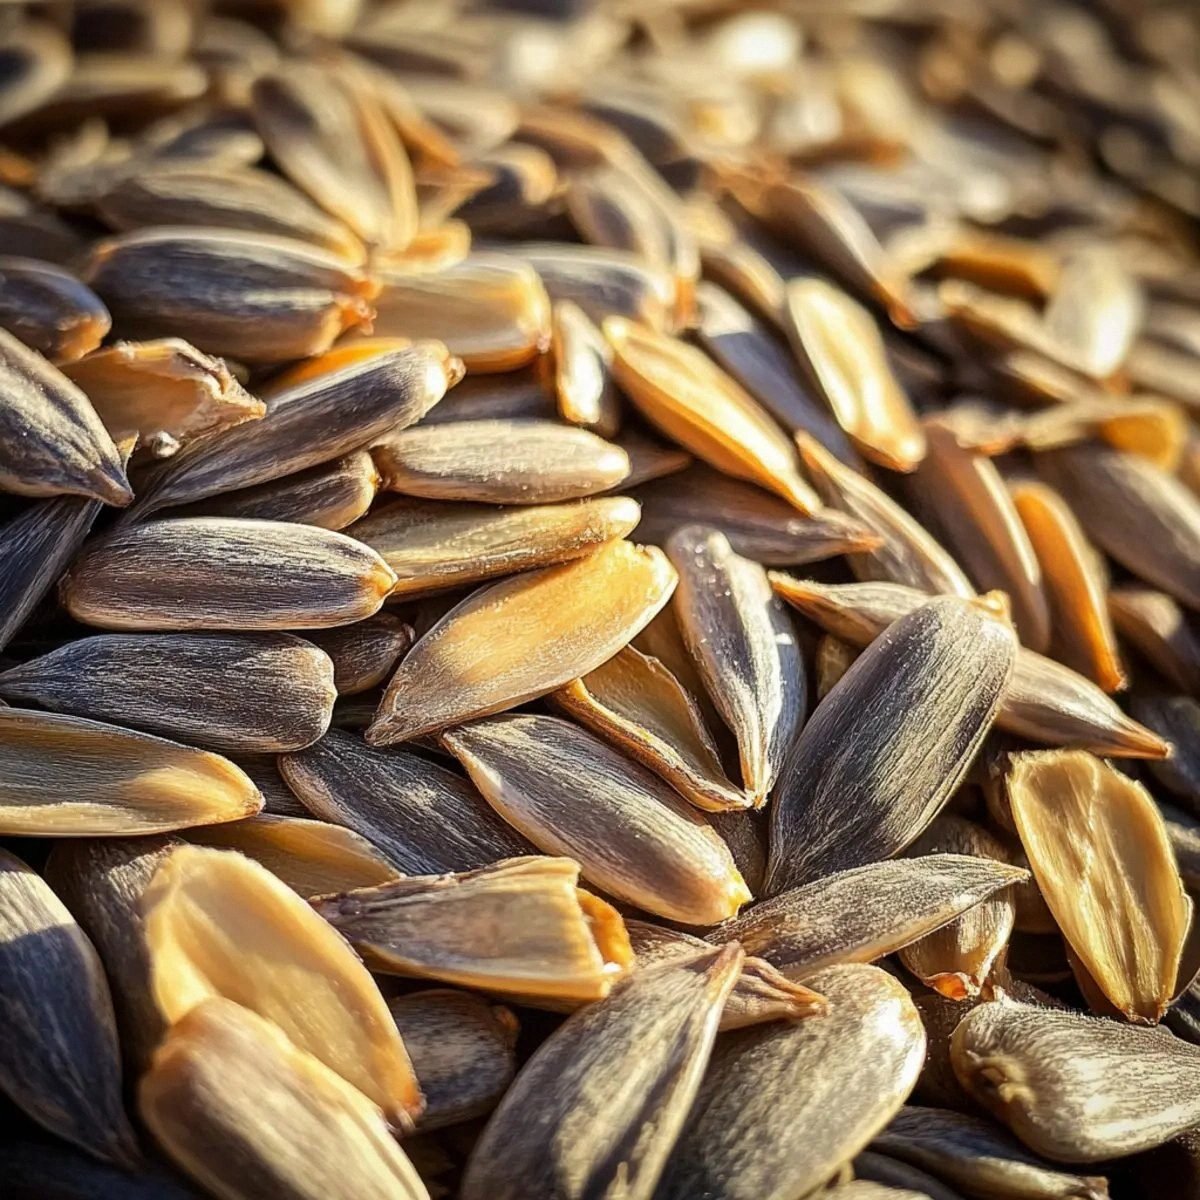
Raw Almonds (2 cups): The star of the show, raw almonds bring a natural buttery crunch that’s amplified when toasted. If you use pre‑roasted almonds, you’ll miss out on that fresh‑toasted aroma that makes the whole batch sing. Choose almonds that are uniform in size for even caramelization. Swap: You can substitute with toasted pecans or walnuts for a different texture, but the flavor profile will shift.
Unsalted Butter (2 tbsp): Butter adds a silky mouthfeel and helps the maple syrup achieve that glossy finish. Without butter, the glaze can become grainy and less cohesive. Use real butter, not margarine, because the milk solids contribute to the nutty depth. Swap: Coconut oil works in a pinch, but expect a subtle coconut undertone.
The Unexpected Star
Vanilla Extract (1 tsp): A splash of vanilla lifts the maple’s earthiness into a fragrant, almost floral realm. Skipping vanilla would leave the clusters tasting flat, like a plain caramel without personality. Opt for pure vanilla extract rather than imitation for maximum aroma. Swap: A dash of almond extract can double down on the nutty vibe, but use sparingly.
The Final Flourish
Sea Salt (¼ tsp, flaky): A pinch of flaky sea salt creates that magical contrast—sweet meets salty in a single bite, making the flavors pop like fireworks. Omit the salt and you’ll end up with a one‑dimensional sweet treat. Choose a flaky variety so the crystals sit on the surface, providing a gentle crunch. Swap: A pinch of smoked salt adds a subtle smoky nuance.
Everything's prepped? Good. Let’s get into the real action…
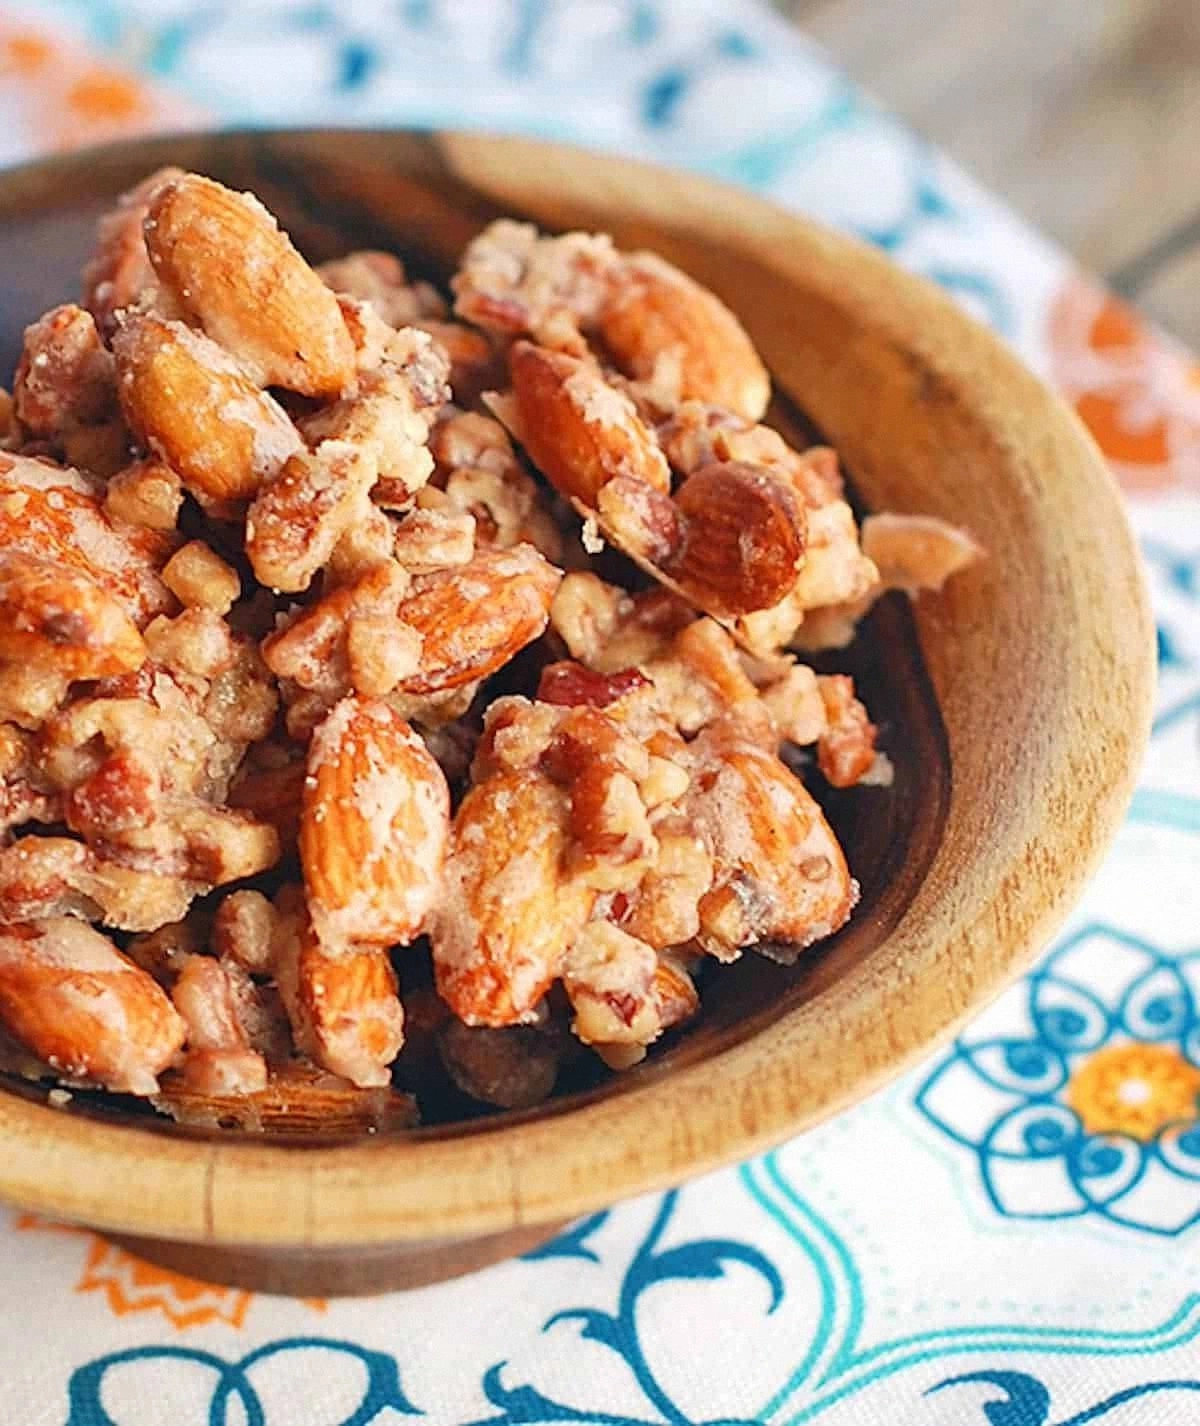
The Method — Step by Step
Start by preheating your oven to 300°F (150°C). While the oven warms, line a large rimmed baking sheet with parchment paper and set it aside. This low temperature will gently dry the almonds before they meet the syrup, ensuring they stay crisp without burning. I like to pop the sheet into the oven for a quick 5‑minute toast while I prep the other ingredients—this step alone adds a subtle, nutty depth that most recipes overlook.
While the oven is doing its thing, melt the butter in a heavy‑bottomed saucepan over medium‑low heat. As soon as it foams, pour in the maple syrup and stir with a wooden spoon. You’ll hear a gentle sizzle, that sizzle when it hits the pan? Absolute perfection. Keep the heat low enough that the mixture bubbles lazily—this is the moment of truth; you don’t want it to scorch.
Kitchen Hack: Use a silicone spatula to scrape every last bit of caramel from the pan; those sticky remnants are pure flavor gold.When the syrup starts to thicken—about 2‑3 minutes—add the vanilla extract and sea salt. The vanilla will swirl into the mixture, releasing a fragrant aroma that fills the kitchen like a summer sunrise. Stir constantly; the salt should dissolve completely, creating a uniform glossy sauce. If you notice the sauce pulling away from the sides of the pan, you’re on the right track; that’s the caramelization stage we’re after.
Now, it’s time to introduce the almonds. Toss the raw almonds into the saucepan, ensuring each piece gets an even coating of the maple‑vanilla glaze. The almonds should hiss gently as they hit the hot mixture—listen for that subtle crackle, a sign they’re beginning to toast. Keep the nuts moving with the spoon for about 5 minutes, allowing the glaze to thicken and cling.
While the almonds continue to toast, give the pre‑heated baking sheet a quick check. If the parchment is lightly golden, remove the sheet from the oven. Transfer the glazed almonds onto the sheet, spreading them out in a single layer. This spacing is crucial; if the nuts are crowded, they’ll steam instead of crisp, resulting in a soggy cluster.
Watch Out: Do not increase the oven temperature to speed up the process; high heat will cause the maple to caramelize too quickly, leading to burnt, bitter clusters.Slide the sheet back into the oven and bake for 12‑15 minutes, stirring once halfway through. You’ll see the clusters turn a deep amber, and the edges will begin to pull away from the parchment—a visual cue that they’re done. The aroma at this point is intoxicating, a sweet‑savory perfume that makes you want to lick the spoon.
When the timer dings, remove the sheet and let the clusters cool completely on the parchment. As they cool, the glaze will harden into a glossy shell that snaps satisfyingly under your teeth. This cooling period is essential; if you try to move the clusters while they’re still warm, they’ll stick together and lose their individual shape.
Once fully cooled, gently break any large clumps into bite‑size pieces using the back of a wooden spoon. Transfer the finished clusters to an airtight container. If you’re feeling extra fancy, sprinkle a few extra flaky sea‑salt crystals on top for an added pop of flavor and a pretty finish.
That’s it — you did it. But hold on, I’ve got a few more tricks that'll take this to another level. The next sections will reveal insider secrets that turn good clusters into unforgettable ones, plus creative variations for when you want to switch things up.
Kitchen Hack: Store the clusters in a single layer inside a glass jar; this prevents them from crushing each other and keeps every piece perfectly crisp.
Insider Tricks for Flawless Results
The Temperature Rule Nobody Follows
Most home cooks think “high heat = faster,” but caramelizing maple syrup is a delicate dance. Keep the temperature between 250°F‑300°F (120°C‑150°C) and you’ll get a smooth, glossy coating without any bitter notes. I once cranked the stove to high, and the syrup turned black in seconds—trust me, that’s a culinary nightmare. Use a candy thermometer if you’re nervous; once the mixture reaches 230°F (110°C) you’re in the sweet spot.
Why Your Nose Knows Best
Before you even taste, your nose will tell you if the clusters are ready. When the almond‑maple mixture releases a nutty, caramel aroma with a hint of vanilla, you’re golden. If you smell a faint burnt odor, pull the pan off the heat immediately and add a splash of butter to rescue the flavor. I’ve saved countless batches by trusting my sense of smell over the clock.
The 5‑Minute Rest That Changes Everything
After baking, let the clusters rest on the parchment for at least five minutes before moving them. This brief pause allows the glaze to set properly, preventing the clusters from sticking together. Skipping this step results in a sticky mess that clumps, ruining the delicate crunch. Think of it as a short meditation for your nuts—patience yields perfection.
Salt Crystals: Size Matters
Flaky sea salt is not just for show; its larger crystals dissolve slower on the tongue, providing a lingering salty finish that balances the maple’s sweetness. If you use fine table salt, the salty bite disappears instantly, leaving the sweetness to dominate. For the ultimate flavor pop, sprinkle the salt just before the clusters fully cool.
Batch‑Size Scaling Without Losing Texture
When you double the recipe, keep the pan size the same and work in batches. Overcrowding the pan reduces the surface area each almond gets exposed to, leading to uneven caramelization. I once tried to do everything in one huge pan and ended up with half‑cooked, half‑burnt nuts. The secret is patience: work in two rounds, and the texture stays consistent.
Creative Twists and Variations
This recipe is a playground. Here are some of my favorite ways to switch things up:
Spicy Maple Heat
Add a pinch of cayenne pepper or a dash of smoked paprika to the maple‑vanilla mixture before coating the almonds. The heat creates a subtle sting that dances with the sweet, perfect for those who love a sweet‑and‑spicy combo. Great for a fall gathering where you want a little warmth.
Citrus Zest Burst
Stir in the zest of one orange or lemon right after adding the vanilla. The citrus brightens the deep maple flavor, giving the clusters a fresh, lively finish that pairs beautifully with a glass of sparkling water. Ideal for spring brunches.
Chocolate Drizzle
Once the clusters have cooled, melt dark chocolate and drizzle it over the top. The bitter chocolate contrasts the sweet maple, creating a sophisticated flavor duo. Let the chocolate set for a few minutes before serving for a glossy, professional look.
Nut Mix Medley
Swap half of the almonds for toasted pecans, hazelnuts, or even macadamia nuts. Each nut brings its own texture and flavor—pecans add buttery richness, hazelnuts contribute an earthy depth, and macadamias bring a buttery creaminess. This variation is perfect for a holiday platter.
Maple‑Brown Sugar Fusion
Replace half of the maple syrup with dark brown sugar dissolved in a splash of water. The molasses in the brown sugar adds a deeper, caramel‑like complexity, while still preserving the maple’s signature notes. This version is especially good for kids who love a richer sweetness.
Storing and Bringing It Back to Life
Fridge Storage
Place the cooled clusters in an airtight glass container and store them in the refrigerator for up to one week. The cool environment keeps the glaze from getting sticky, preserving the crisp snap of each almond. When you’re ready to serve, let them sit at room temperature for 10 minutes to regain their full texture.
Freezer Friendly
These clusters freeze beautifully. Spread them on a parchment‑lined tray, freeze for an hour, then transfer to a zip‑top freezer bag. They’ll stay fresh for up to three months. To revive, pop a handful into a preheated oven at 300°F (150°C) for 5‑7 minutes, or microwave for 15 seconds with a tiny splash of water to re‑gloss the coating.
Best Reheating Method
When reheating, add a teaspoon of water to the pan before warming the clusters on low heat. The steam generated prevents the glaze from drying out, bringing the clusters back to that just‑out‑of‑the‑oven shine. Stir gently to coat every piece evenly, and you’ll taste that fresh‑baked magic again.