I was standing in my kitchen at three in the morning, half‑asleep, clutching a half‑finished batch of store‑bought sugar cookies that had somehow turned into a crunchy, sad‑pancake mess. I swear the oven had conspired against me, and the only thing keeping me from throwing the whole thing out was the desperate, sweet craving that had been nagging me all day. I dared a friend to taste those cookies and not beg for a second helping, and she laughed so hard she snorted milk out of her nose. That moment, that ridiculous, noisy laugh, sparked a mission: to create a version of the classic sugar cookie that would make even the most skeptical cookie monster weep with joy.
Picture this: a tray of golden‑brown discs, each edge feather‑light, the tops puffed up like tiny clouds, and a faint, buttery aroma that rolls out of the oven like a warm hug. The first bite? A melt‑in‑your‑mouth softness that’s so airy it feels like you’re biting into a sweet, fragrant pillow. The vanilla is not just a background note; it’s the star that sings a mellow, aromatic chorus, turning a simple sugar cookie into a sophisticated treat. The texture is a paradox—soft enough to crumble in your mouth yet sturdy enough to hold a generous swirl of frosting without collapsing.
Most recipes get this completely wrong. They either over‑mix, creating a tough, dense cookie, or they skip the crucial step of chilling the dough, resulting in flat, greasy discs that stick to the pan. I’ve tried dozens of “fluffy” recipes, and each time I ended up with something that resembled a tough biscuit rather than a cloud. The secret, I discovered, lies in a delicate balance of temperature, air incorporation, and a splash of vanilla that does more than flavor—it lifts the whole dough into a higher plane of deliciousness.
Now, I’m about to hand you the exact technique that turned my kitchen disaster into a show‑stopping dessert. I’m talking about a method that uses a simple cream‑of‑the‑crop butter‑sugar creaming trick, a brief chill, and a precise baking temperature that turns the dough into a fluffy masterpiece. I dare you to taste this and not go back for seconds. Let me walk you through every single step — by the end, you’ll wonder how you ever made it any other way.
What Makes This Version Stand Out
- Texture: The cookies rise like a soufflé, thanks to the whipped butter‑sugar base that traps air and creates a light, airy crumb.
- Flavor: Real vanilla extract is folded in at the perfect moment, giving a deep, aromatic profile that store‑bought mixes can’t match.
- Simplicity: Only eight pantry staples are needed, and the steps are straightforward enough for a novice but refined enough for a pro.
- Versatility: The dough can be shaped into classic rounds, cut into festive shapes, or even piped into bite‑size mounds for party platters.
- Crowd Reaction: Expect gasps, compliments, and the inevitable “Can I have the recipe?” from anyone who tries one.
- Ingredient Quality: Using unsalted, high‑fat butter and pure vanilla extract makes the difference between “good” and “legendary.”
- Cooking Method: A modest 350°F (175°C) oven ensures even rise without over‑browning, preserving that delicate interior.
- Make‑Ahead Potential: The dough freezes beautifully, letting you bake fresh cookies whenever the craving strikes.
Alright, let's break down exactly what goes into this masterpiece...
Inside the Ingredient List
The Flavor Base
Vanilla extract is the soul of these cookies. A high‑quality, Madagascar‑sourced vanilla will infuse the dough with a sweet, floral note that lingers on the palate. If you skip the vanilla, you’ll end up with a cookie that tastes like sugar and butter—good, but not unforgettable. For a budget‑friendly swap, try vanilla bean paste; it offers the same depth with specks of vanilla seeds that add visual appeal.
The Texture Crew
All‑purpose flour provides the structural backbone, while baking powder adds lift, and a pinch of baking soda balances acidity from the butter. The butter itself must be soft, not melted; otherwise, the dough spreads too quickly and loses its puff. If you’re dairy‑free, substitute with a solid coconut oil, but expect a faint coconut undertone that can be delightful.
The Unexpected Star
A splash of milk (or half‑and‑half) is the secret weapon that hydrates the flour just enough to create a tender crumb without making the dough sticky. Skipping this liquid results in a dry, crumbly texture that can’t hold frosting. For a richer flavor, use a tablespoon of sour cream; it adds a subtle tang that brightens the sweetness.
The Final Flourish
Granulated sugar is the sweetener, but it also plays a role in the texture. The fine crystals dissolve during creaming, creating a glossy dough that spreads just enough to form a perfect dome. If you crave a caramelized edge, swap ¼ cup of the sugar for brown sugar; the molasses will deepen the flavor and give a chewier bite.
Everything's prepped? Good. Let's get into the real action...

The Method — Step by Step
Start by preheating your oven to 350°F (175°C). While the oven warms, line two baking sheets with parchment paper; this prevents sticking and gives the cookies a nice, even bottom. The moment the heat hits the metal, you’ll hear a faint whisper of anticipation—trust me, that’s the sound of perfect cookies forming.
In a chilled mixing bowl, combine 2 cups of all‑purpose flour, 1 tsp baking powder, ½ tsp baking soda, and ½ tsp salt. Whisk together until the powders are evenly distributed; this step prevents any metallic pockets that could create uneven rise. Pro tip: Sift the dry ingredients for an extra airy texture.
Now for the magic: beat ¾ cup (1½ sticks) of unsalted butter with 1 cup of granulated sugar on medium‑high speed for 3–4 minutes. The mixture should turn a pale, creamy color and increase in volume, resembling a light mousse. Watch Out: If the butter is too warm, the mixture will look greasy and won’t trap enough air, leading to dense cookies.
Add 1 large egg and 2 tsp of pure vanilla extract to the butter‑sugar cloud. Beat just until incorporated; over‑mixing at this stage can deflate the aerated mixture, sabotaging the fluffiness you’re after.
Gradually add the dry flour mixture to the wet ingredients, mixing on low speed. Stop the mixer once the dough comes together in a soft, slightly sticky ball.
Kitchen Hack: Add the 2 tbsp of milk at the very end of this step; it will hydrate the dough just enough to make it pliable without becoming sticky.Cover the bowl with plastic wrap and refrigerate the dough for exactly 30 minutes. This chill firms the butter, allowing the cookies to hold their shape while still retaining the air bubbles you’ve worked so hard to create.
After chilling, scoop the dough with a cookie scoop (about 1½ tbsp per cookie) and place the balls onto the prepared sheets, spacing them 2 inches apart. Gently press each ball down with the back of a spoon—just enough to flatten the tops slightly, but not flatten completely. The dough should spring back a little, hinting at the rise that’s about to happen.
Slide the trays into the oven and bake for 10–12 minutes, or until the edges are just turning golden and the tops have puffed up like tiny balloons. You’ll notice a faint, sweet aroma wafting through the kitchen; that’s the moment of truth. Do not open the oven door before the 8‑minute mark, or the cookies may collapse.
Remove the cookies and let them cool on the sheet for 2 minutes before transferring to a wire rack. While they’re still warm, feel the softness with a fingertip—if they’re too firm, they’ve over‑baked; if they’re still gooey, give them another minute. This is the part where you decide whether to dust them with powdered sugar or drizzle a vanilla glaze.
That’s it — you did it. But hold on, I’ve got a few more tricks that'll take this to another level. Stay with me here — this is worth it.
Insider Tricks for Flawless Results
The Temperature Rule Nobody Follows
Never bake cookies straight from a cold fridge at a temperature lower than 350°F. The sudden temperature shock can cause the butter to melt too quickly, flattening the cookie before the leaveners have a chance to work. Keep your oven calibrated; an oven thermometer is a cheap investment that saves countless batches.
Why Your Nose Knows Best
The moment the cookies start to turn a light golden brown, the kitchen will fill with a buttery‑vanilla perfume that’s unmistakable. If you can smell the sweet aroma, the cookies are usually done or within a minute of perfection. Trust that nose over the timer—it’s a reliable, sensory shortcut.
The 5‑Minute Rest That Changes Everything
After the cookies have cooled on the wire rack, let them sit for an additional five minutes before frosting or stacking. This brief rest allows the crumb structure to set, preventing the cookies from crumbling under the weight of any topping. I once tried to frost them immediately and ended up with a soggy mess—lesson learned.
The Butter Softening Secret
If your butter is too hard to cream, place it in a zip‑top bag and gently tap it with a rolling pin for 10 seconds. This quick method softens the butter without melting it, preserving the air‑trapping ability essential for fluffiness.
The Double‑Scoop Technique
When forming the dough balls, use a two‑part scoop: fill the larger portion first, then top it with the smaller. This creates a uniform height that bakes evenly, giving each cookie the same lofty dome. Consistency is key when you’re impressing a crowd.
Creative Twists and Variations
This recipe is a playground. Here are some of my favorite ways to switch things up:
Lemon Zest Lift
Add 1 tablespoon of finely grated lemon zest to the wet ingredients and swap half the vanilla for lemon extract. The citrus brightens the sweet base, making it perfect for spring gatherings.
Cinnamon Sugar Swirl
Mix 1 tsp cinnamon with 2 tbsp sugar, then sprinkle over each dough ball before baking. The spice caramelizes slightly, giving a warm, comforting flavor that’s ideal for fall.
Chocolate Chip Surprise
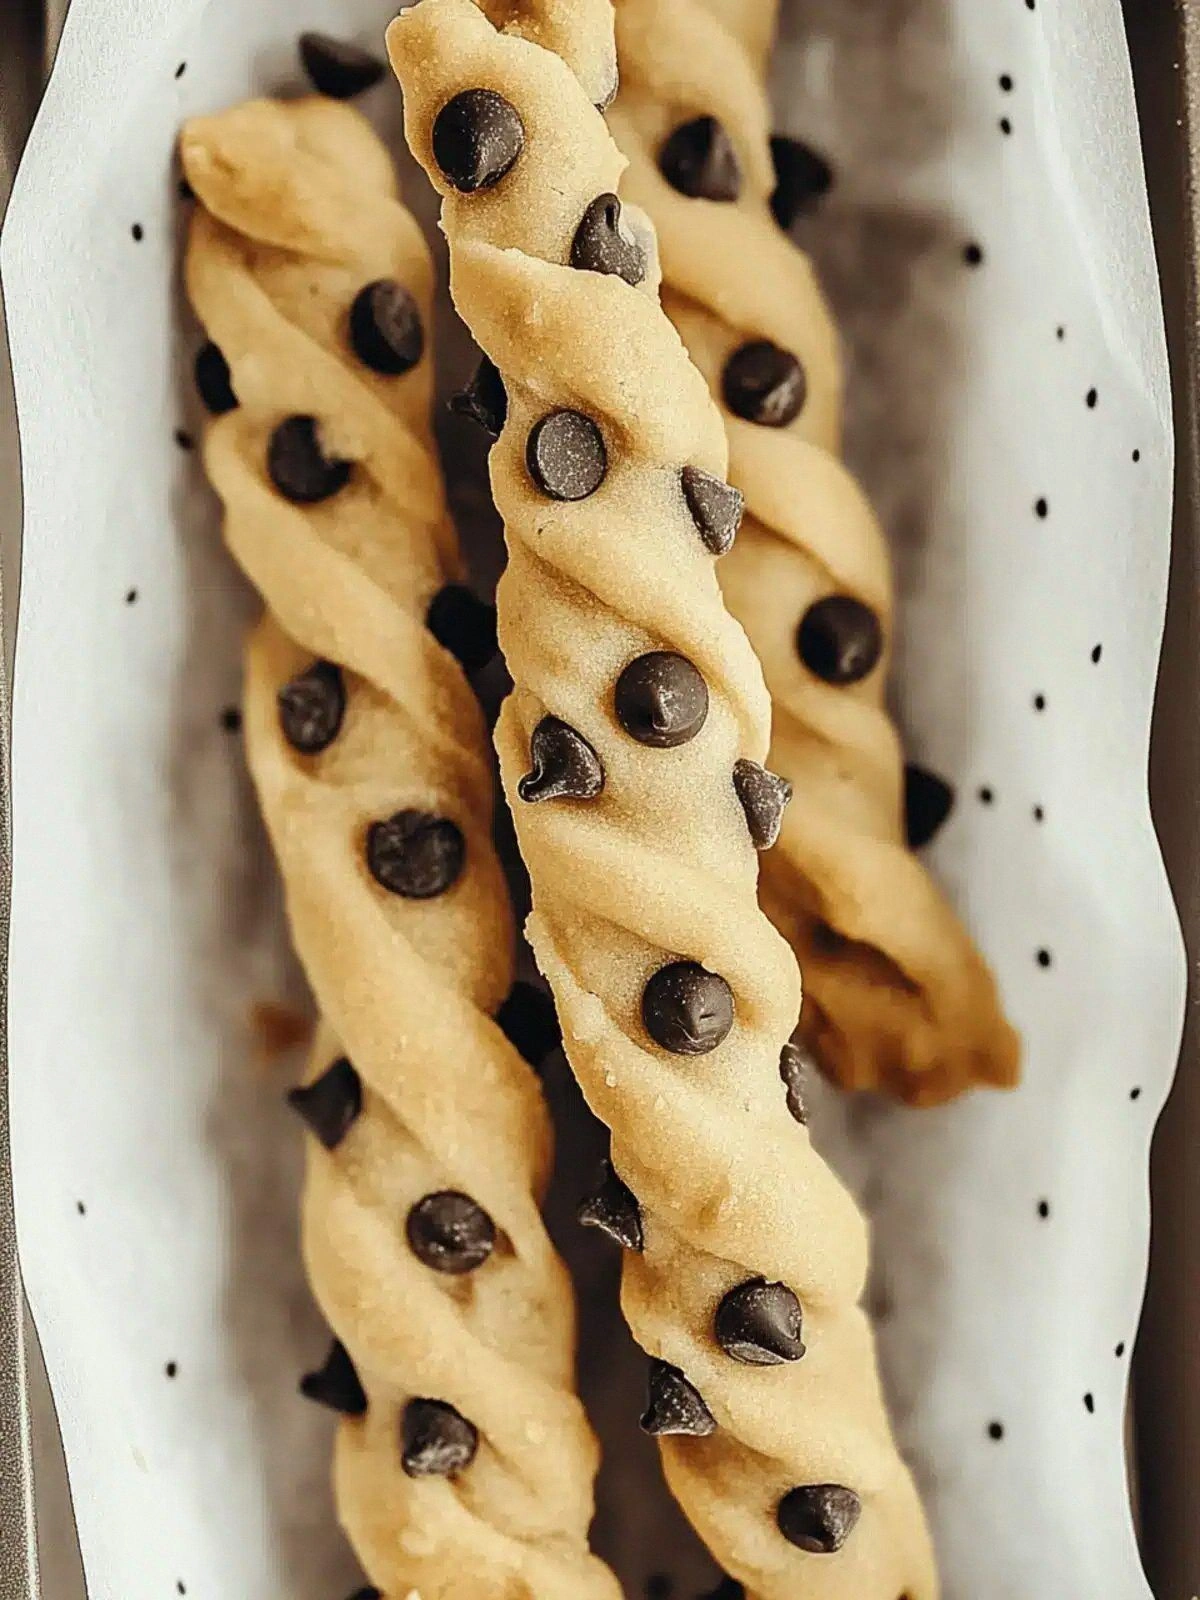
Fold in ¾ cup of mini chocolate chips after the dough comes together. The chips melt just enough to create pockets of gooey chocolate without compromising the fluffiness.
Almond Joy
Replace ¼ cup of flour with almond flour and add a splash of almond extract. The nutty undertone pairs beautifully with a drizzle of melted chocolate on top.
Coffee Infusion
Dissolve 1 tsp instant espresso powder in the milk before adding it to the dough. The subtle coffee note adds depth, making these cookies a sophisticated after‑dinner treat.
Storing and Bringing It Back to Life
Fridge Storage
Place cooled cookies in an airtight container with a paper towel at the bottom to absorb excess moisture. They stay fresh for up to five days, retaining their soft interior.
Freezer Friendly
Arrange cookies in a single layer on a parchment‑lined tray and freeze for one hour. Transfer them to a zip‑top freezer bag; they’ll keep for three months. When ready, pop them in a 300°F oven for 5 minutes to revive the fluff.
Best Reheating Method
To bring a day‑old cookie back to life, place it on a microwave‑safe plate, sprinkle a tiny splash (about a teaspoon) of water around the edge, and microwave for 10‑12 seconds. The steam restores moisture, and the cookie feels freshly baked.