Why you'll love this recipe
- One‑handed: roll and twist without a mixer
- 30‑minute: ready in under half an hour
- Crowd‑pleaser: festive colors entice every guest
- Make‑ahead: dries and stores for a week
- Kid‑approved: sweet, minty, and fun to shape
I remember the first time I tried making these mints: the kitchen was lit by twinkling lights, and the air smelled of pine and fresh peppermint. As I rolled the butter‑sweet dough, my sister laughed at the bright red ribbons spilling onto the counter, and the first bite melted like snow on a warm tongue. A few years later, my own daughter begged me to make them for her school’s holiday party. Watching her eyes widen at the swirl of red and white reminded me why I fell in love with simple, hand‑crafted sweets. Those moments keep me reaching for the mixer every December.
The story
The first bite snaps with a buttery melt that slides across the tongue, releasing a rush of cool peppermint that tingles the palate. A faint scent of sugar and mint rises, filling the kitchen like a winter breeze. You’ll hear the soft sigh of the dough as it settles on the tray.
I first discovered these mints while helping my niece decorate the tree at Grandma’s house, the air thick with pine and cocoa. She handed me a handful of red‑and‑white swirls she’d bought, and I thought, "I can make these myself." The idea stuck, and after a few trial runs the recipe finally clicked.
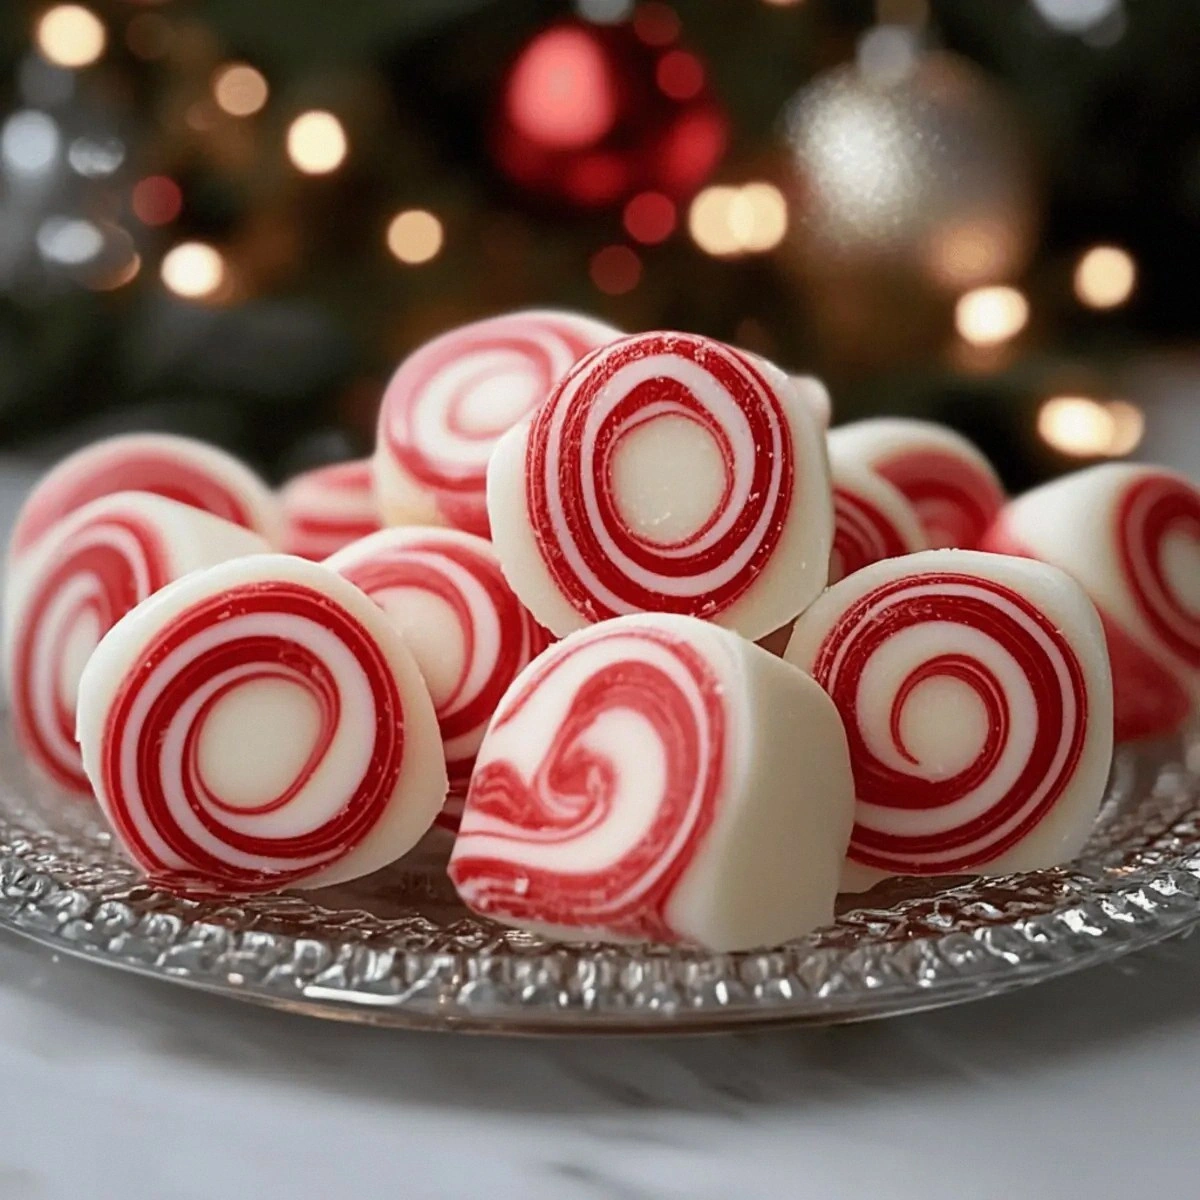
What sets this version apart is the simple hand‑twisted rope technique that creates a marbled red‑and‑white swirl without any food‑color‑stained knives. By keeping the dough soft and pliable, the colors stay distinct yet meld beautifully when pressed together. No baking, no tempering—just pure, festive fun.
Each mint balances sweet powdered sugar, rich cream, and a punch of peppermint; the butter gives a melt‑in‑your‑mouth silkiness while the red gel adds just a visual pop. The first flavor hit is sweet, followed by a cool minty wave that lingers, and a buttery finish that melts away. The texture is soft yet holds its shape, offering a delicate snap when bitten.
Arrange them on a festive platter beside hot cocoa, or tuck them into a holiday cookie tin as a surprise for guests. They also double as a sweet garnish for a peppermint bark parfait or a decorative accent in a gingerbread house. Perfect for party favors, they add a pop of color and flavor to any celebration.
Don’t let the idea of “twisting ropes” intimidate you—just roll two soft logs and press them together, the dough is forgiving and sets while it dries. The total hands‑on time is under fifteen minutes, and the rest is simply waiting. You’ll see it’s easier than it looks, even for a first‑time baker.
After testing this swirl three times—once with a stand mixer, once by hand, and once with a food‑processor—my family devours every batch within minutes. The kids love the bright swirls, and the adults appreciate the subtle mint. Let’s dive in and create your own batch of melt‑in‑your‑mouth peppermint joy.
Why This Recipe Works
- Creamy butter emulsifies with powdered sugar, creating a smooth, pliable dough.
- Resting the twisted ropes allows the sugar matrix to set, giving a melt‑in‑your‑mouth texture.
- The brief air‑drying creates a light crust while keeping the interior soft.
Ingredient notes & substitutions
butter
Provides rich flavor and a silky texture that melts in the mouth.
powdered sugar
Creates a smooth, glossy dough and adds sweetness without graininess.
heavy whipping cream
Adds moisture and richness, keeping the dough pliable.
peppermint extract
Delivers the classic cool peppermint punch without overpowering sweetness.
red gel food coloring
Gives the iconic red‑and‑white swirl without affecting flavor.
Equipment you'll need
Ingredients
- 0.5 cup butter, softened (Ensure it's at room temperature for easy blending.)
- 3 cups powdered sugar (Creates a smooth sweetness.)
- 2 tbsp heavy whipping cream (Adds richness and a velvety texture.)
- 0.25 tsp peppermint extract (Imparts classic mint flavor.)
- red gel food coloring (Use for vibrant red-and-white swirls.)
Before You Start
- Soften butter to room temperature
- Measure powdered sugar and cream
- Line baking sheet with parchment paper
- Divide dough and color one half
- Gather a clean work surface
Instructions
- 1Step 1
Beat the butter with an electric mixer on medium speed until light and fluffy, about 2-3 minutes.
- 2Step 2
Gradually add powdered sugar and heavy whipping cream, mixing on low speed, then on medium until smooth and pliable, about 3-4 minutes.
- 3Step 3
Divide the dough into two portions, adding red gel food coloring to one portion and kneading until color is even.
- 4Step 4
Roll each dough into ropes and twist them together to create swirls.
- 5Step 5
Place mints on a parchment-lined baking sheet and let air dry for 1-2 hours, then let sit for 24 hours before serving.
Pro tips
Keep butter at room temp
Softened butter blends evenly, preventing grainy pockets in the dough.
Add cream gradually
A slow drizzle ensures the dough stays smooth and not too sticky.
Use a silicone mat
The dough releases effortlessly, preserving the perfect swirl shape.
Knead colored dough lightly
A brief knead distributes color without over‑working the butter.
Twist gently
Press the ropes together just enough to bond; too much pressure smudges the colors.
Air‑dry in low humidity
A dry kitchen speeds setting; if humid, add a fan or dehumidifier.
Store airtight
An airtight tin keeps the mints soft and prevents them from drying out.
Add extra cream if crumbly
A teaspoon of cream revives a dry dough and restores pliability.
Variations to try
Dairy‑Free Version
Swap butter for coconut oil and heavy cream for coconut cream; the mint flavor stays bright.
Chocolate Peppermint Swirl
Blend 2 tbsp cocoa powder into the dough and finish with dark chocolate chips for a richer bite.
Mini Peppermint Bites
Shape the rope into small balls, roll in powdered sugar, and let them dry for bite‑size treats.
Spicy Holiday Twist
Add a pinch of cayenne to the red dough for a subtle heat that compliments the mint.
Serving Suggestions
Troubleshooting
Dough is too dry
Add a teaspoon of cream and knead until smooth.
Colors bleed together
Roll ropes tightly and chill for 15 minutes before twisting.
Mints stay soft after drying
Increase air‑dry time or place them in a low‑heat oven (150 °F) for 20 minutes.
Swirl is uneven
Press ropes together gently; avoid over‑pressing which spreads color.
Flavor is weak
Increase peppermint extract to ½ tsp; add a pinch of fine sea salt.
Storage & make-ahead
Refrigerator
Place in an airtight tin; keep up to 7 days.
Freezer
Freeze in a single layer, then transfer to a zip‑top bag; lasts up to 2 months. Thaw at room temperature before serving.
Best way to reheat
No reheating needed; let sit a few minutes at room temperature if chilled to regain softness.
Make-ahead
Form and air‑dry the mints 24 hours before serving; avoid drying longer than 48 hours to prevent hardening.
Ingredients
- 0.5 cup butter, softened (Ensure it's at room temperature for easy blending.)
- 3 cups powdered sugar (Creates a smooth sweetness.)
- 2 tbsp heavy whipping cream (Adds richness and a velvety texture.)
- 0.25 tsp peppermint extract (Imparts classic mint flavor.)
- red gel food coloring (Use for vibrant red-and-white swirls.)
Instructions
- 1Beat the butter with an electric mixer on medium speed until light and fluffy, about 2-3 minutes.
- 2Gradually add powdered sugar and heavy whipping cream, mixing on low speed, then on medium until smooth and pliable, about 3-4 minutes.
- 3Divide the dough into two portions, adding red gel food coloring to one portion and kneading until color is even.
- 4Roll each dough into ropes and twist them together to create swirls.
- 5Place mints on a parchment-lined baking sheet and let air dry for 1-2 hours, then let sit for 24 hours before serving.