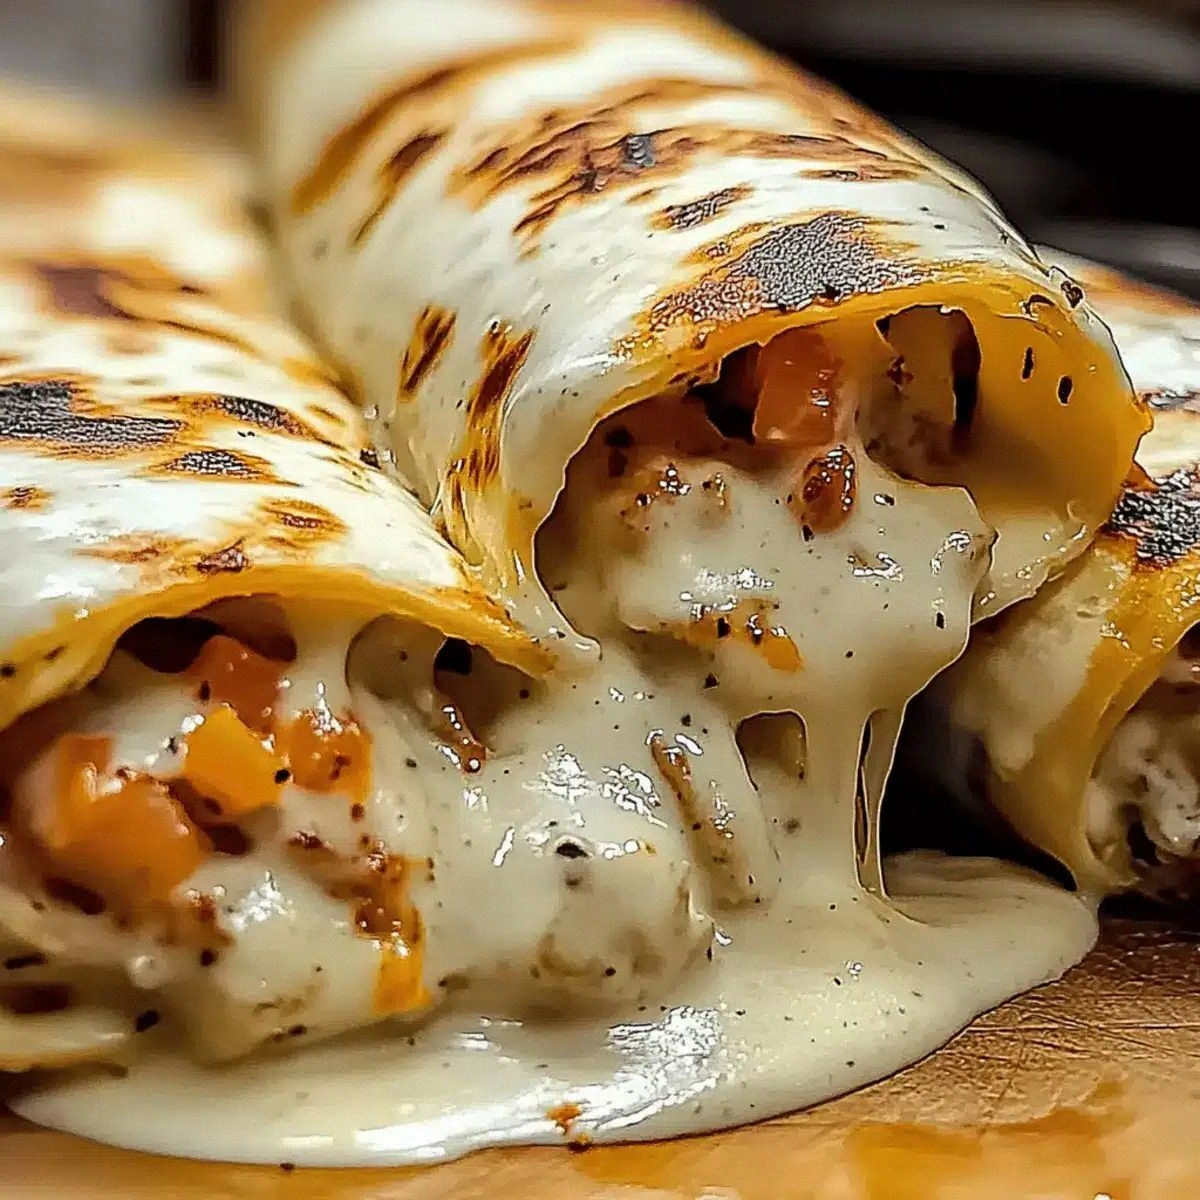
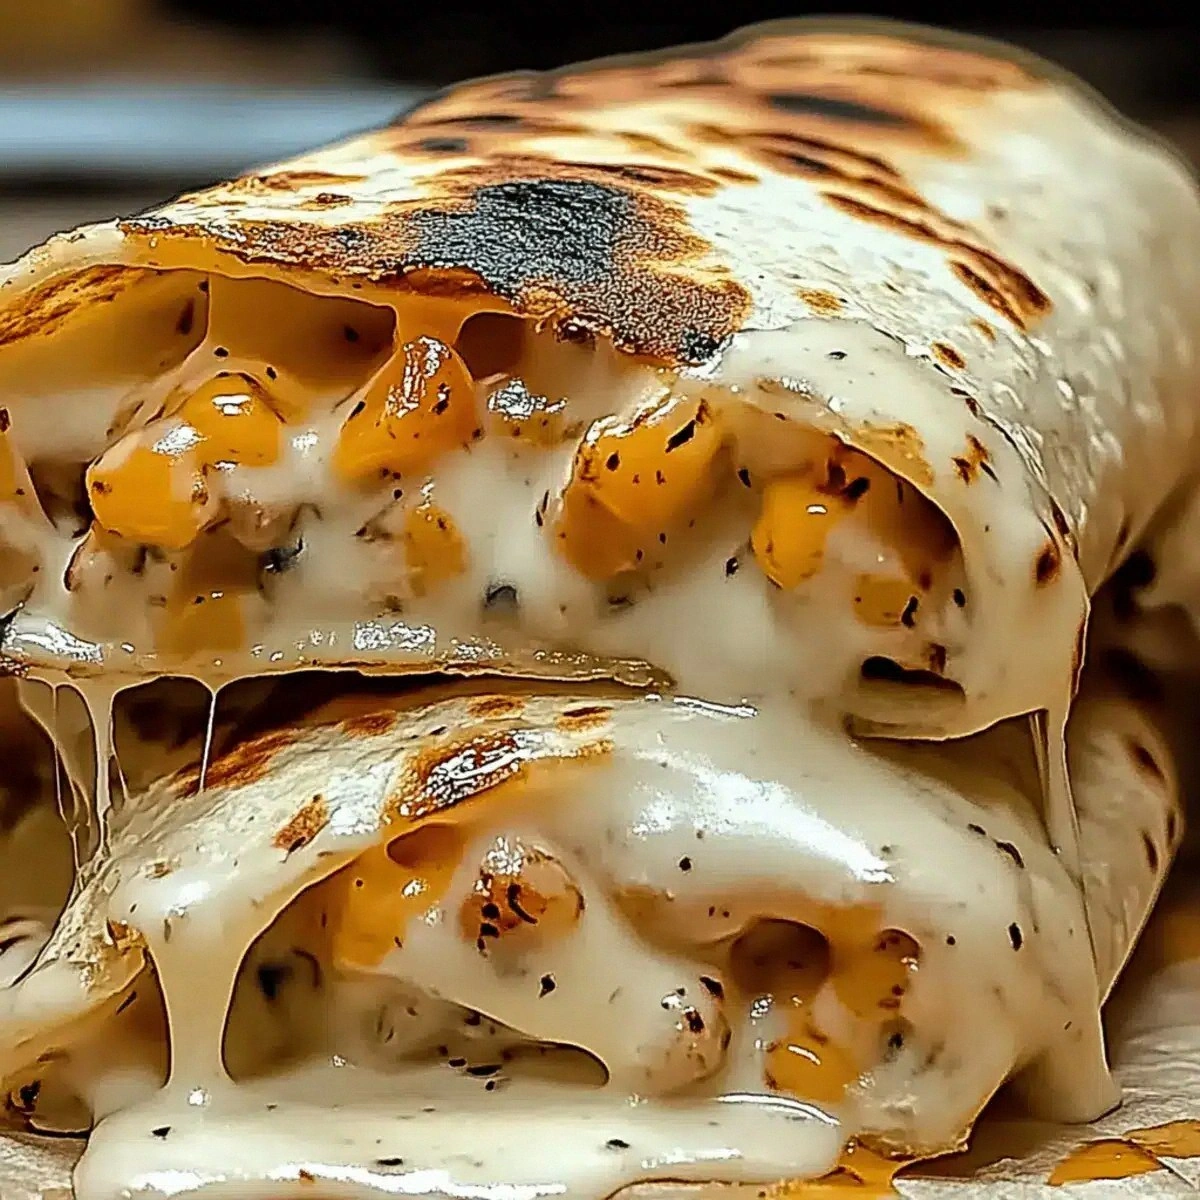
I was standing in my kitchen, half‑asleep, after a marathon of Zoom meetings, when my roommate shouted, “You smell something amazing!” I turned, only to discover a pan of burnt garlic and a chicken breast that had decided to audition for a charcoal commercial. That disaster sparked a dare: “If you can turn that mess into something edible, I’ll buy you a coffee for a week.” Fast forward an hour, a handful of pantry staples, and the most decadent, melt‑in‑your‑mouth cheesy garlic chicken wraps you’ll ever taste were born. This isn’t just a quick fix; it’s a culinary hug that wraps you in mozzarella‑gooey goodness, garlic perfume, and a crisp tortilla that whispers, “You’ve earned this.”
Picture the scene: the skillet hisses as butter meets garlic, the aroma slithering through the air like a seductive snake, while the chicken pieces tumble in, turning a golden shade that makes you want to stare. The cheese melts, bubbling like a lava flow, and the spinach wilts just enough to stay bright green, refusing to turn into a soggy mess. You hear the faint crackle of the tortilla as it warms, feel the heat radiating from the pan onto your fingertips, and taste the first bite — a perfect marriage of creamy, tangy, and savory that makes the world pause for a second. That moment, dear reader, is what I call “the flavor epiphany” — the instant you realize you’ve just discovered your new nightly go‑to.
Most recipes out there either drown the chicken in a swamp of cheese or leave the wraps dry and sad. I’ve been there, battling soggy tortillas and bland fillings that make you wonder why you bothered. This version flips the script by using a balanced blend of cream cheese, mozzarella, and mayo that coats the chicken like velvet without turning it into a dairy disaster. The secret? A splash of Italian seasoning that adds an herbaceous punch, and a quick sauté that locks in moisture while giving the garlic a caramelized kiss.
And now, the tease you’ve been waiting for: I’m going to reveal a technique that most home cooks skip — a brief “rest and steam” phase that turns a good wrap into an unforgettable one. It’s so simple you’ll wonder why you ever ignored it. I dare you to taste this and not go back for seconds. Let me walk you through every single step — by the end, you’ll wonder how you ever made it any other way.
What Makes This Version Stand Out
- Flavor Explosion: The garlic‑infused cream cheese base creates a creamy, aromatic foundation that spreads through every bite, while the mozzarella adds that irresistible stretch.
- Texture Harmony: A crisped tortilla meets a silky interior, delivering a contrast that feels like biting into a perfect bite of comfort and crunch.
- Simplicity: All ingredients are pantry‑friendly, and the method requires only one pan and a skillet, making cleanup a breeze.
- Uniqueness: The addition of mayo might raise eyebrows, but it balances the tang of cream cheese and keeps the mixture from getting gummy.
- Crowd Reaction: I’ve served these at impromptu dinner parties and watched friends gasp, then immediately ask for the recipe — that’s a win.
- Ingredient Quality: Using fresh spinach and ripe tomatoes adds a burst of freshness that cuts through the richness, preventing palate fatigue.
- Cooking Method: A quick sear followed by a gentle steam‑rest locks in juices, a technique most recipes overlook.
- Make‑Ahead Potential: Assemble the wraps, wrap them in foil, and they stay perfect for up to 24 hours in the fridge.
Alright, let's break down exactly what goes into this masterpiece...
Inside the Ingredient List
The Flavor Base
Minced garlic and Italian seasoning are the dynamic duo that bring the Mediterranean vibe to every bite. Garlic, when sautéed just until fragrant, releases allicin, a compound that adds depth without bitterness. Italian seasoning, a blend of oregano, basil, and thyme, lifts the dish with herbaceous notes that linger on the tongue. If you skip the seasoning, you’ll miss that aromatic punch that makes the wraps sing.
The Texture Crew
Cream cheese, mozzarella, and mayonnaise form a trio that delivers creaminess, stretch, and a subtle tang. Cream cheese provides body and a smooth mouthfeel, mozzarella gives that iconic stringy pull, and mayo adds a silken sheen while preventing the mixture from becoming gluey. Swapping out cream cheese for Greek yogurt will make it lighter, but you’ll lose some of that luxurious thickness.
The Unexpected Star
Fresh spinach leaves are the unsung hero. They add a pop of color, a slight earthiness, and a nutritional boost that balances the indulgence. If you’re not a fan of raw spinach, lightly wilt it in the pan for 30 seconds; it will retain its vibrant green while becoming more tender. Fresh tomatoes contribute juicy acidity that cuts through the richness, preventing the palate from feeling overwhelmed.
The Final Flourish
Flour tortillas are the canvas, sturdy enough to hold the hefty filling yet soft enough to fold without cracking. Choose large, 10‑inch tortillas for a generous wrap. If you’re gluten‑free, corn tortillas work, but they’ll be more fragile, so handle with care. Green onions add a mild oniony bite and a subtle crunch that rounds out the texture profile.
Everything's prepped? Good. Let's get into the real action...
The Method — Step by Step
Heat a large skillet over medium‑high heat and melt a tablespoon of butter. Add the minced garlic and sauté for 30 seconds until it turns a light golden, releasing that unmistakable aroma that makes your stomach growl. Watch out: If the garlic browns too quickly, it will turn bitter, so keep your eye on it. Once fragrant, lower the heat to medium and toss in the cooked chicken, letting it warm through while absorbing the garlic perfume.
In a separate bowl, combine the cream cheese, shredded mozzarella, and mayonnaise. Stir vigorously until the mixture is smooth and glossy, resembling a thick dip you’d serve at a party. This is the moment of truth: the blend should be creamy, not clumpy.
Kitchen Hack: Soften the cream cheese in the microwave for 10 seconds before mixing; it merges faster and gives a silkier texture.Sprinkle the Italian seasoning, salt, and black pepper over the chicken, then stir to coat evenly. The seasoning will cling to the meat thanks to the slight moisture from the butter, creating a fragrant crust. Feel the heat under the pan and listen for the faint sizzle that tells you the chicken is about to hit its flavor peak.
Add the cheese‑mayo mixture to the pan, folding it gently into the chicken. As the cheese melts, you’ll see ribbons of mozzarella stretching like a lazy cat waking up. Keep the heat on low to prevent the cheese from separating; you want a glossy, cohesive sauce that clings to every bite of chicken. That sizzle when it hits the pan? Absolute perfection.
Fold in the fresh spinach leaves and diced tomatoes, allowing the spinach to wilt just enough to stay bright and the tomatoes to release a little juice. This adds moisture without making the wrap soggy. If you prefer a firmer bite, add the tomatoes at the very end of this step so they retain their shape.
Warm the flour tortillas in a clean, dry skillet for about 20 seconds per side, or microwave them for 15 seconds wrapped in a damp paper towel. Warmed tortillas become pliable, preventing cracks when you roll them.
Watch Out: Over‑cooking the tortillas makes them brittle; you want just a gentle puff.Lay a tortilla flat, spoon a generous mound of the cheesy chicken mixture down the center, then top with sliced green onions. The green onions add a mild bite that cuts through the richness, and their color adds visual appeal. Fold the sides inwards, then roll tightly, tucking the filling as you go. This is the game‑changer: a tight roll ensures every bite delivers the full flavor spectrum.
Place the assembled wraps seam‑side down on a baking sheet and cover loosely with foil. Let them rest for 5 minutes; this “steam‑rest” allows the cheese to set, preventing leaks when you bite in. While they rest, preheat a grill pan or regular skillet over medium heat.
Finally, give each wrap a quick sear on the grill pan for 1‑2 minutes per side, just until the tortilla develops golden‑brown streaks. The edges should start pulling away slightly, signaling a perfect crunch. Remove, slice diagonally, and serve immediately while the cheese is still oozing. That's it — you did it. But hold on, I've got a few more tricks that'll take this to another level...
Insider Tricks for Flawless Results
The Temperature Rule Nobody Follows
Keep the skillet on medium‑low once the cheese is added. High heat will make the cheese separate, turning it oily and greasy. A gentle melt creates a cohesive sauce that clings to the chicken like a lover’s embrace. I once tried cranking the heat, and the result was a rubbery mess that no one wanted to touch.
Why Your Nose Knows Best
When the garlic hits the pan, trust your sense of smell. The moment you detect a nutty, caramelized scent, you know the garlic is perfectly browned. If the smell turns sharp or burnt, you’ve crossed the line. This sensory checkpoint is more reliable than a timer.
The 5‑Minute Rest That Changes Everything
After assembling the wraps, let them sit covered for five minutes. This rest lets the cheese set and the tortilla absorb a tiny bit of moisture, preventing a soggy bite. It also makes the wraps easier to slice without the filling spilling out.
Slicing Like a Pro
Use a sharp, serrated knife and cut at a slight angle. This technique creates larger surface area for each bite, showcasing the gooey cheese pull. A dull knife will squish the wrap, making it messy and less appealing.
Seasoning at the End
A final pinch of flaky sea salt just before serving brightens every flavor. It adds a subtle crunch that contrasts the creamy interior. I’ve seen people skip this step and wonder why the dish feels flat.
Creative Twists and Variations
This recipe is a playground. Here are some of my favorite ways to switch things up:
Spicy Chipotle Kick
Swap the Italian seasoning for chipotle powder and add a spoonful of adobo sauce. The smoky heat pairs beautifully with the creamy cheese, turning the wrap into a fiesta in your mouth. Perfect for those who love a little fire.
Mediterranean Delight
Replace the mozzarella with feta, add sliced Kalamata olives, and sprinkle dried oregano. The tangy feta cuts through the richness, while olives bring briny depth. It’s like a Greek salad wrapped in a tortilla.
Breakfast Boost
Add scrambled eggs and a dash of hot sauce. The protein punch makes this a hearty morning meal, and the hot sauce adds a zing that wakes up the palate. Serve with a side of fresh fruit for balance.
Veggie‑Loaded Version
Include roasted red peppers, sautéed mushrooms, and shredded carrots. The extra veggies add texture, color, and nutrients, making the wrap feel lighter without sacrificing flavor. Great for a quick lunch.
Cheese‑Only Heaven
Go all‑in on cheese by adding a slice of provolone and a sprinkle of Parmesan on top before the final sear. The extra cheese creates a crust that cracks delightfully, offering an extra layer of indulgence.
Storing and Bringing It Back to Life
Fridge Storage
Place the cooled wraps in an airtight container or wrap them tightly in foil. They stay fresh for up to 3 days. Reheat in a skillet over medium heat, adding a splash of water to the pan and covering for a minute to steam the interior back to meltiness.
Freezer Friendly
Wrap each individual wrap in parchment paper, then a layer of aluminum foil, and store in a zip‑top freezer bag. They freeze well for up to 2 months. To reheat, thaw overnight in the fridge, then pan‑sear as described, adding a drizzle of water before covering.
Best Reheating Method
The skillet method is king: heat a non‑stick pan over medium, place the wrap seam‑side down, add a teaspoon of water, and cover for 2‑3 minutes. The steam revives the cheese, while the pan restores that coveted crisp.